|
<Tauntaun> |

<Glow-Hoop>
|
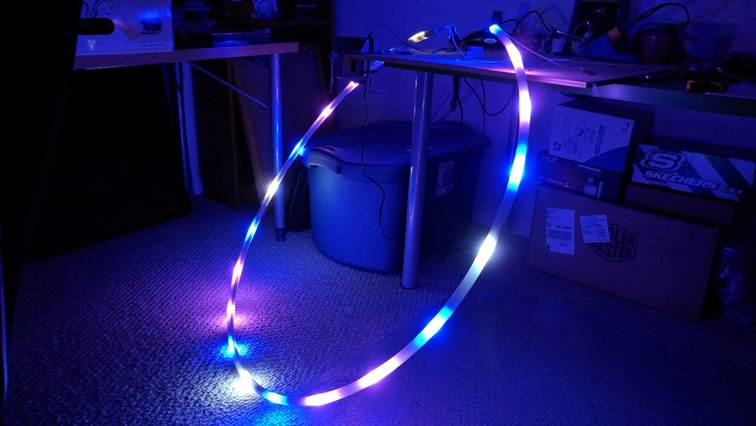
Objective: For Christmas in 2011 I decided to make my mom a purplish LED hoop that
she could use at prop festivals and jams. Videos:
Pictures:
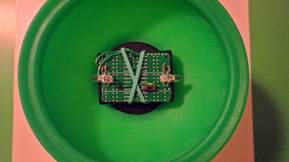
Features/Specifications: ·
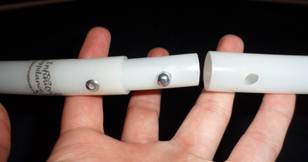
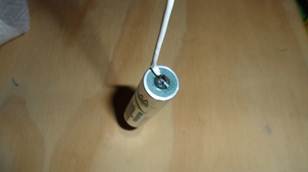
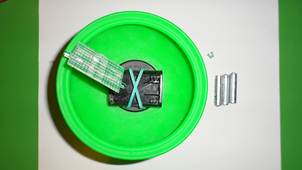
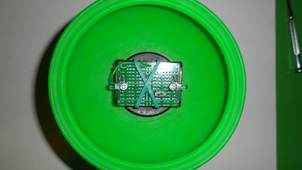
o 6.25” ID tubing, 37.5” circumference hoop o push button connector to easily access charger
port and LED harness o Hoop provided by Nina Infinity ·
LED
Harness o
o
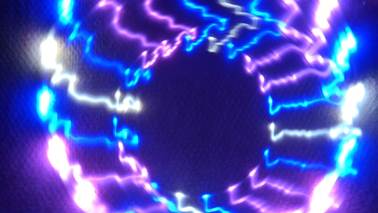
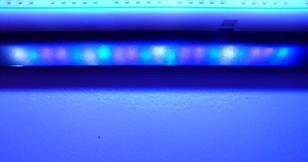
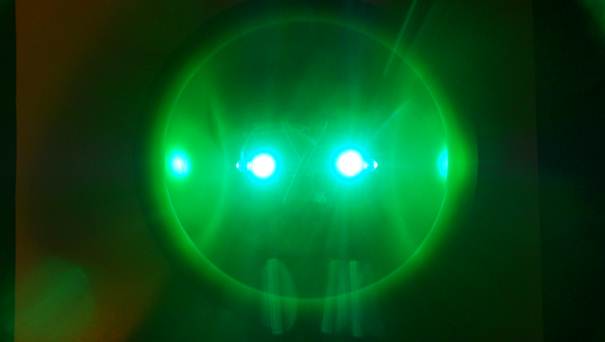
White/blue/purple/purple/blue
repeating pattern o
Evenly
spaced along circumference of hoop and wrapped in bubble wrap to prevent
rattling ·
o
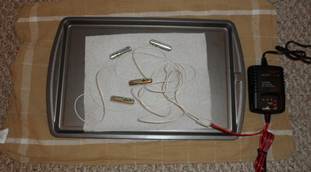
4.8V
2300mAhr rechargeable NiMH pack (AA’s) o
Battery
weight evenly distributed across the circumference of hoop o
Runtime:
~5 hours ·
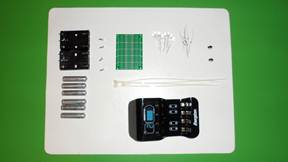
o
Prophet
sport AC/DC peak charger o
Able to
be charged from wall outlet at home or from car battery at festivals o
Max
charge rate: 1A o
Charge
time: ~2.5 hours ·
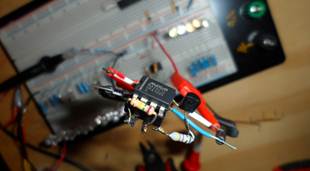
Low
voltage indicator o
o
A
MAX8212 turns off ¼ of the LED harness to indicate to the user that they need
to recharge their hoop Future Work/Notes: ·
Switch to
a single easy to swap in/out rechargeable lithium ion cell. ·
Improve
low voltage circuit such that the LED’s and battery automatically shutdown when voltage is too low (maybe find battery with
this as included feature) ·
Find
LED’s with built in current limiting resistors to reduce construction time. ·
Experiment
with programmable LED hoops |

<Glow-Footbag>
|
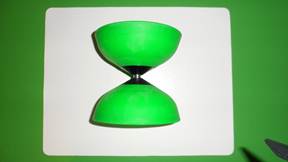
<Glow-Diabolo>
|

<Tauntaun>
|


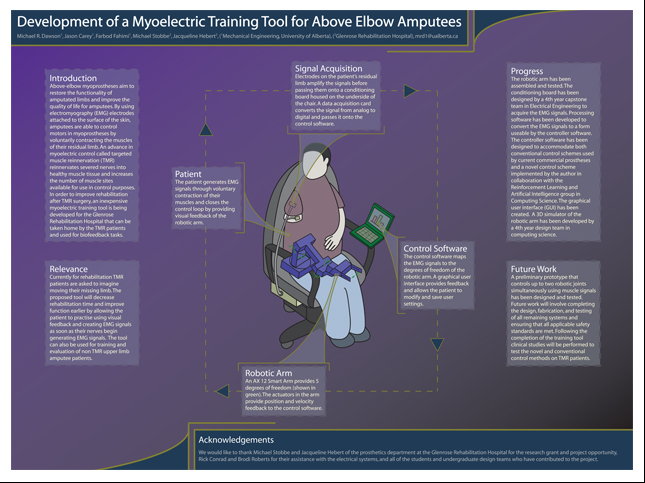
<MTT>
|
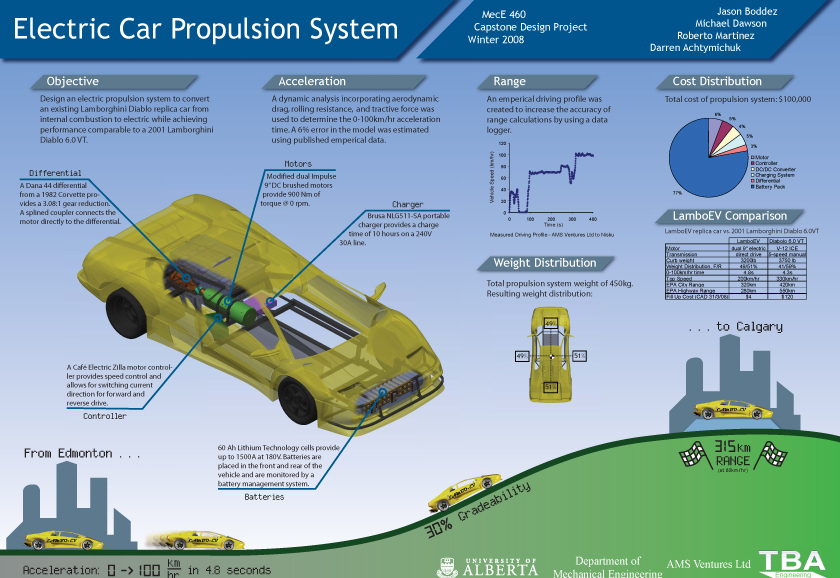
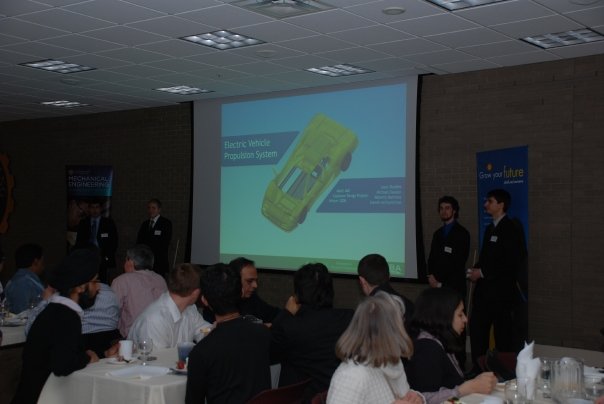
<Lambo-EV>
|

<Bearacuda>
|
<About>
|