Between the Stitches: Embroidering a Lotus Flower from Dragons on the Tibetan Plateau
Learn more about the embroidery techniques used in the exhibition, Dragons on the Tibetan Plateau with first-hand experience.
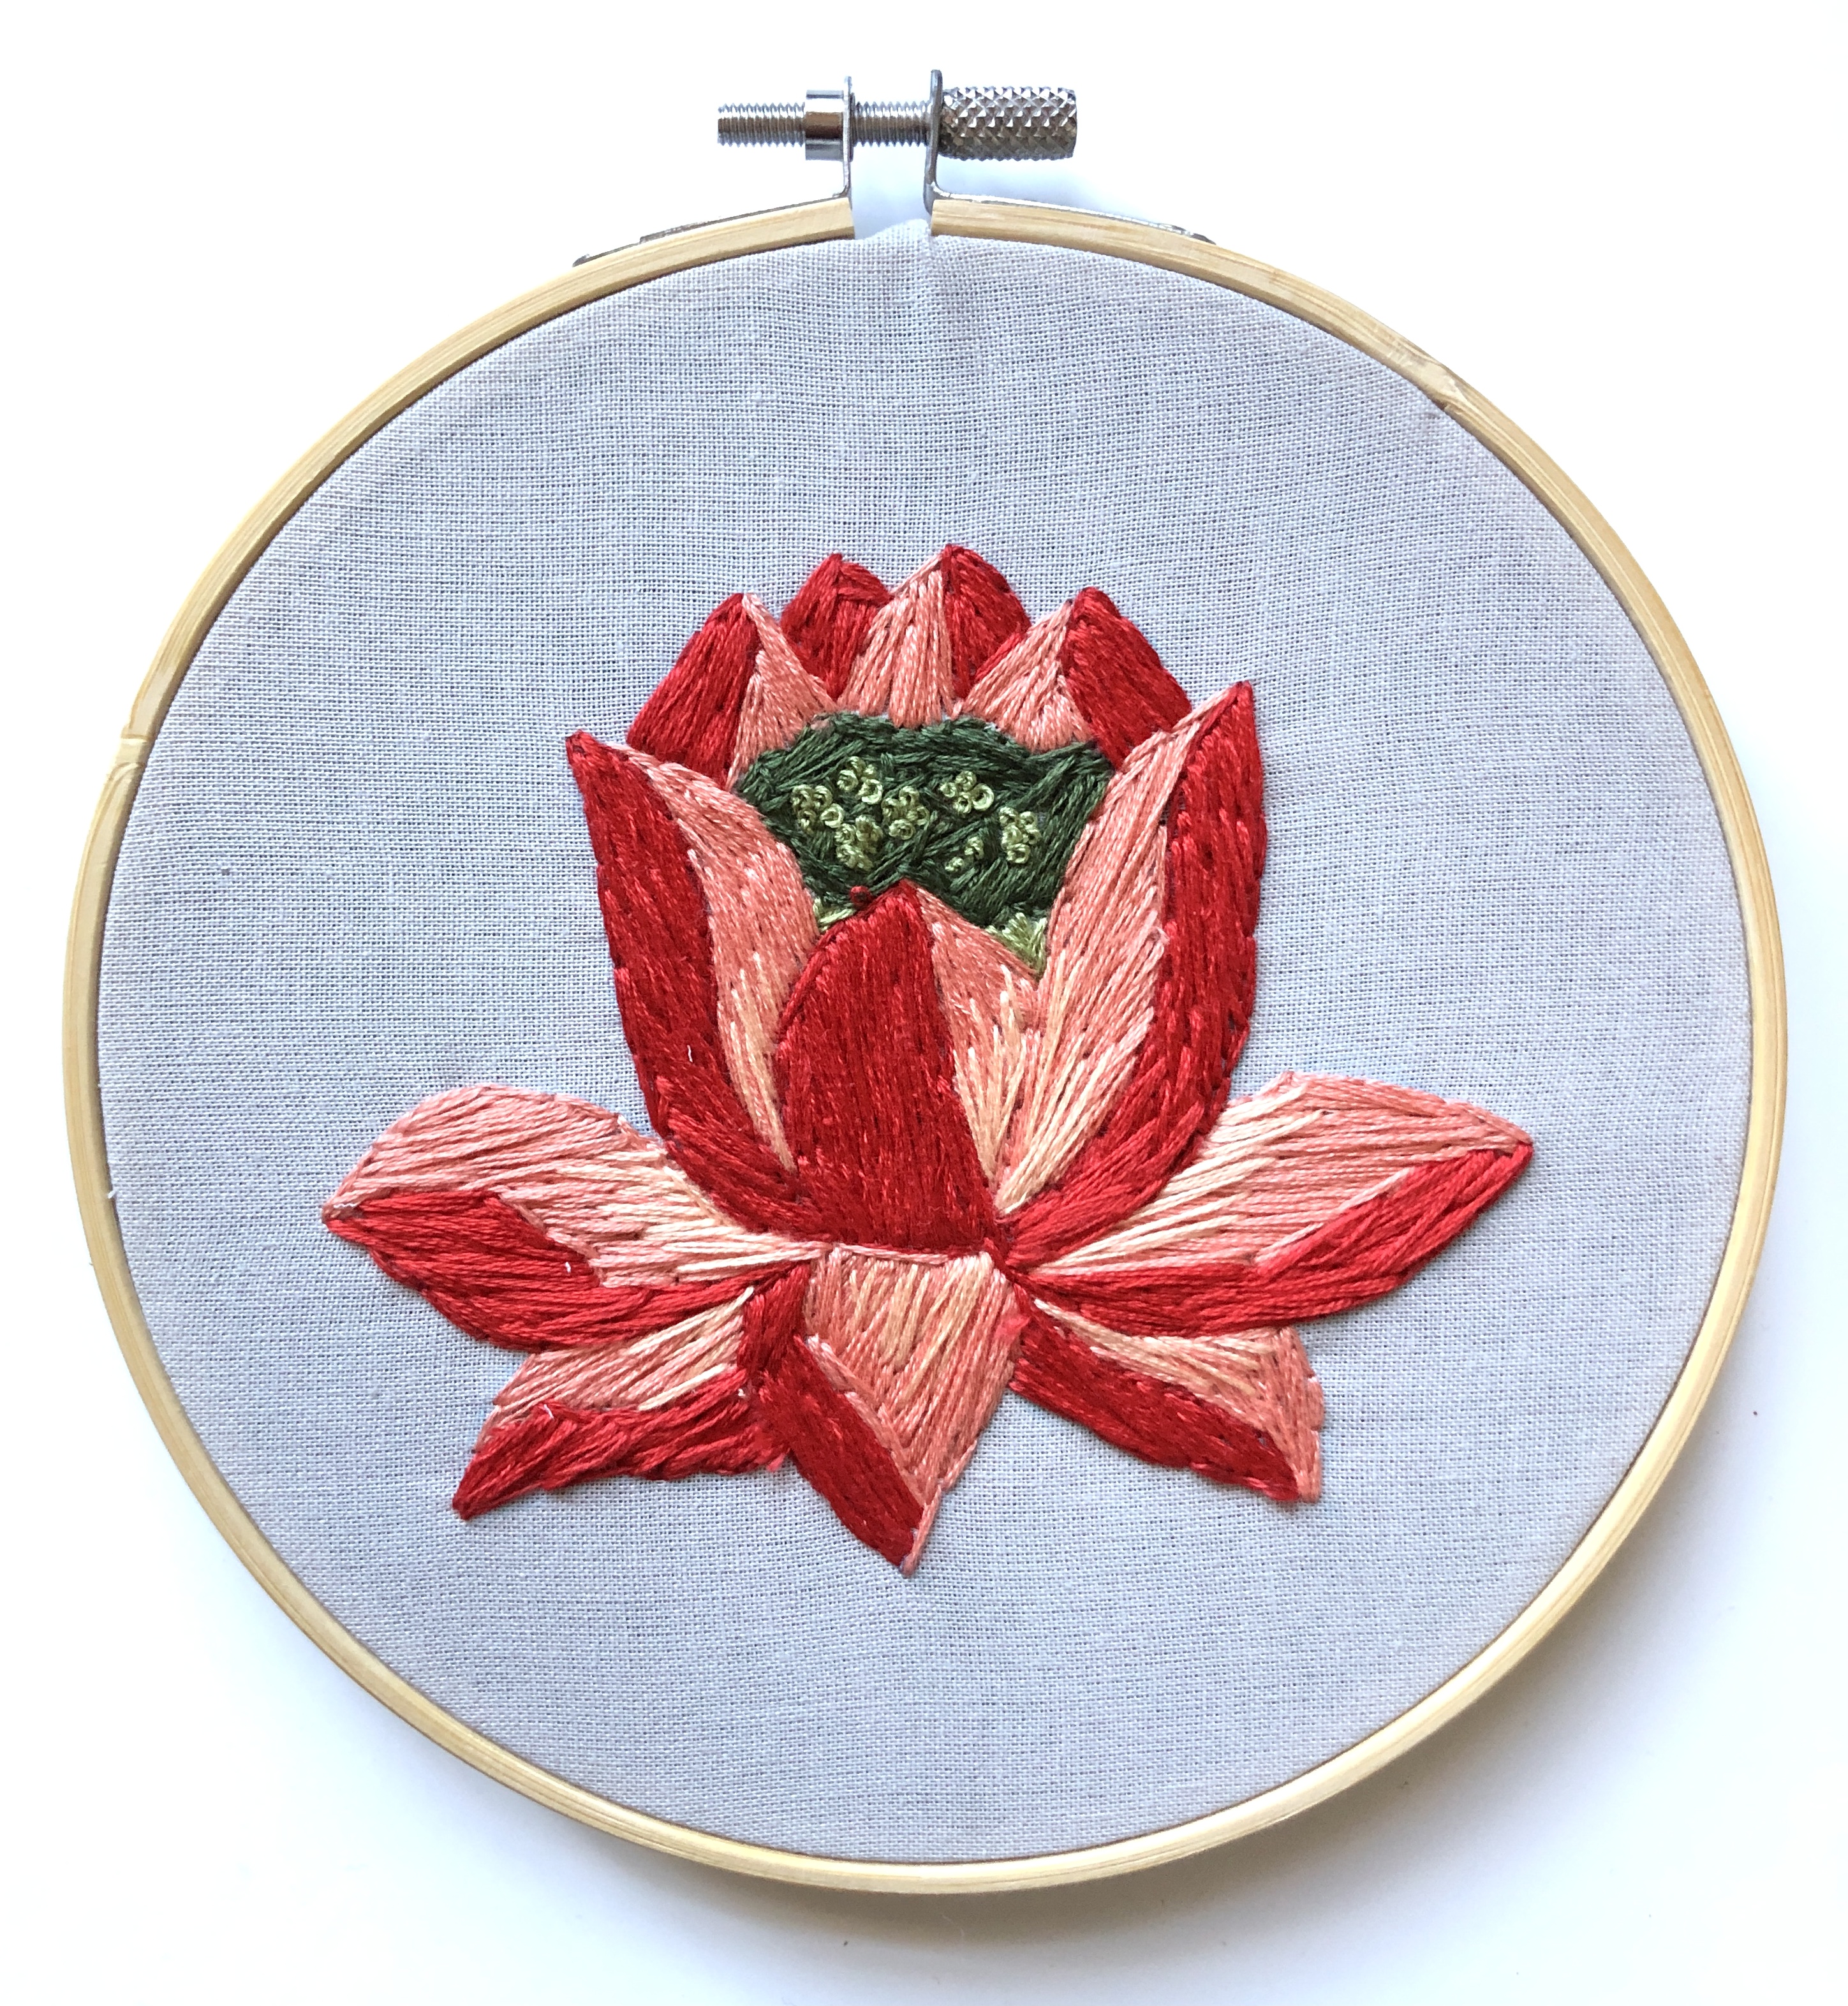
Create your own lotus flower embroidery pattern with this hands-on, virtual activity! Follow the instructions below and have fun choosing your own colour palette, fabric, or embroidery pattern.
Embroidery Activity:
Time:
Varies, depending on the size of your pattern and how detailed you want to make it
What you’ll need:
- 1 embroidery hoop (ours is 6”)
- plain weave cotton fabric
- 1 fabric-safe pencil or marker
- lotus embroidery pattern - PDF File
- 1 embroidery needle
- 4-5 embroidery floss colours
- We used: DMC 349, 352, 754, 3362, and 3364
- snips or sharp scissors
Instructions:
- Print the Dragons on the Tibetan Plateau lotus pattern, or another similar embroidery pattern. This pattern prints to fit a 6” embroidery hoop, but you are welcome to enlarge or shrink to accommodate a bigger or smaller embroidery hoop.
- Grab your fabric and embroidery hoop. Trim your fabric down to an appropriate size to fit your hoop - there should be enough to stretch across the interior of the hoop. Too much fabric will be difficult to work with as you embroider.
Fabric Tip: When selecting fabric, look for thin, cotton, plain weave fabric in a solid colour. This is an easy type of fabric for beginner embroiderers to use. Densely woven fabric (e.g. denim, canvas), complex fabric (e.g. velvet, terrycloth), and excessively stretchy knits (e.g. spandex or t-shirt material) can be difficult to work with.
For a fun twist, try using a patterned fabric! - Separate the embroidery hoop into an interior and exterior ring by unscrewing the top. Lay the interior hoop (without the top screw) onto a flat, clean surface. Lay your fabric over the hoop. If your fabric is directional (has a clear “good side” and “wrong side”) make sure the wrong side is facing up.
- Take the exterior hoop (with the screw) and fit it over your fabric and the interior hoop. The fabric should be sandwiched between the interior and exterior hoops. Tighten the screw so the fabric is evenly stretched across the hoop.
Hoop Tip: A loose screw will cause the fabric to sink and sag as you embroider, which can distort the quality of your stitches. Tighten the exterior hoop as far as it will go and gently tug the corners of your fabric outside the hoop to make sure you have good tension.
- Take the lotus embroidery pattern and trim around the edges so that it fits neatly within your embroidery hoop. Lay the pattern on a flat surface and flip your embroidery hoop so that the flat surface of the fabric is placed on top of the pattern. Centre the pattern within the hoop.
- Take your fabric safe pencil or pen and trace all of the pattern lines. This should be on the backside of your embroidery hoop.
Pens/Pencils Tip: Fabric safe pencils and markers are ideal for fabric because they often use air or water-soluble ink, meaning any mistakes or extra marks will eventually disappear or wash out. If your pencil or pen is air soluble, make sure to work quickly. Sometimes the ink can dissolve faster than we can embroider.
Tracing Tip: There are many different ways to trace a pattern onto the fabric. If this method does not work for you, try using fusible embroidery interfacing, an iron-on transfer, tracing paper, or drawing directly onto the surface. - Flip your embroidery hoop back over and loosen the top screw. Remove your fabric and traced pattern from the hoop and flip so the pattern is facing up. With your pattern facing up, lay back over the interior hoop. Fit the exterior hoop over your pattern and tighten the screw so your fabric is restretched with your traced pattern on the surface. Make sure the tension is even and tight.
- Grab your embroidery floss and needle.
Floss Tip: Choose five assorted colours of embroidery floss. Floss is different than regular sewing thread. It typically comes with 6 strands that are twisted together and can be separated. Regular sewing thread is thin and will take much longer to use when embroidering.
Needle Tip: Embroidery needles typically have larger eyes to accommodate the thickness of embroidery floss, which makes threading the needle much easier. Regular sewing needles usually have smaller eyes that can be difficult to thread with floss. Choose a needle that is appropriate for the density of your fabric - a thick needle on thin fabric can disrupt the fabric structure and distort your pattern. - Select a colour to outline the outside of your petals. We are using a red-orange colour (DMC 349) to outline the exterior of our lotus flower petals and a dark pink (DMC 352) to outline the interior of our lotus petals. Measure out a length of thread that is approximately 25-28” inches long and cut.
Measuring Tip: Use the length of your arm to mid-chest as a guide for measuring thread length. Take the tip of your thread in your fingertips and horizontally extend your arm outward while unravelling your thread until it reaches your mid-chest. This is an ideal length because it is not longer than the length of your arm, making it easier to pull the thread through as you embroider. Excessively long thread strands can tangle and knot easily. - Separate your embroidery floss strands. With one end of your cut strand, tease out the individual strands so you have two groups of three strands each. Very gently pull these strands apart. Separating strands too quickly can cause extremely tangled thread.
Floss Tip: A floss strand of three threads (rather than six) will make outlining stitches more clean and clear. Using fewer strands can help achieve high detail, whereas using more strands will fill out blocks of colour faster. - Thread your needle with your separated strand. Dampen one end with water to help thread it through the eye of the needle.
At the opposite end of your strand, tie one-two knots to ensure it won’t slip through the fabric.
- We will use the backstitch to outline our lotus. (Here’s a great video to help)
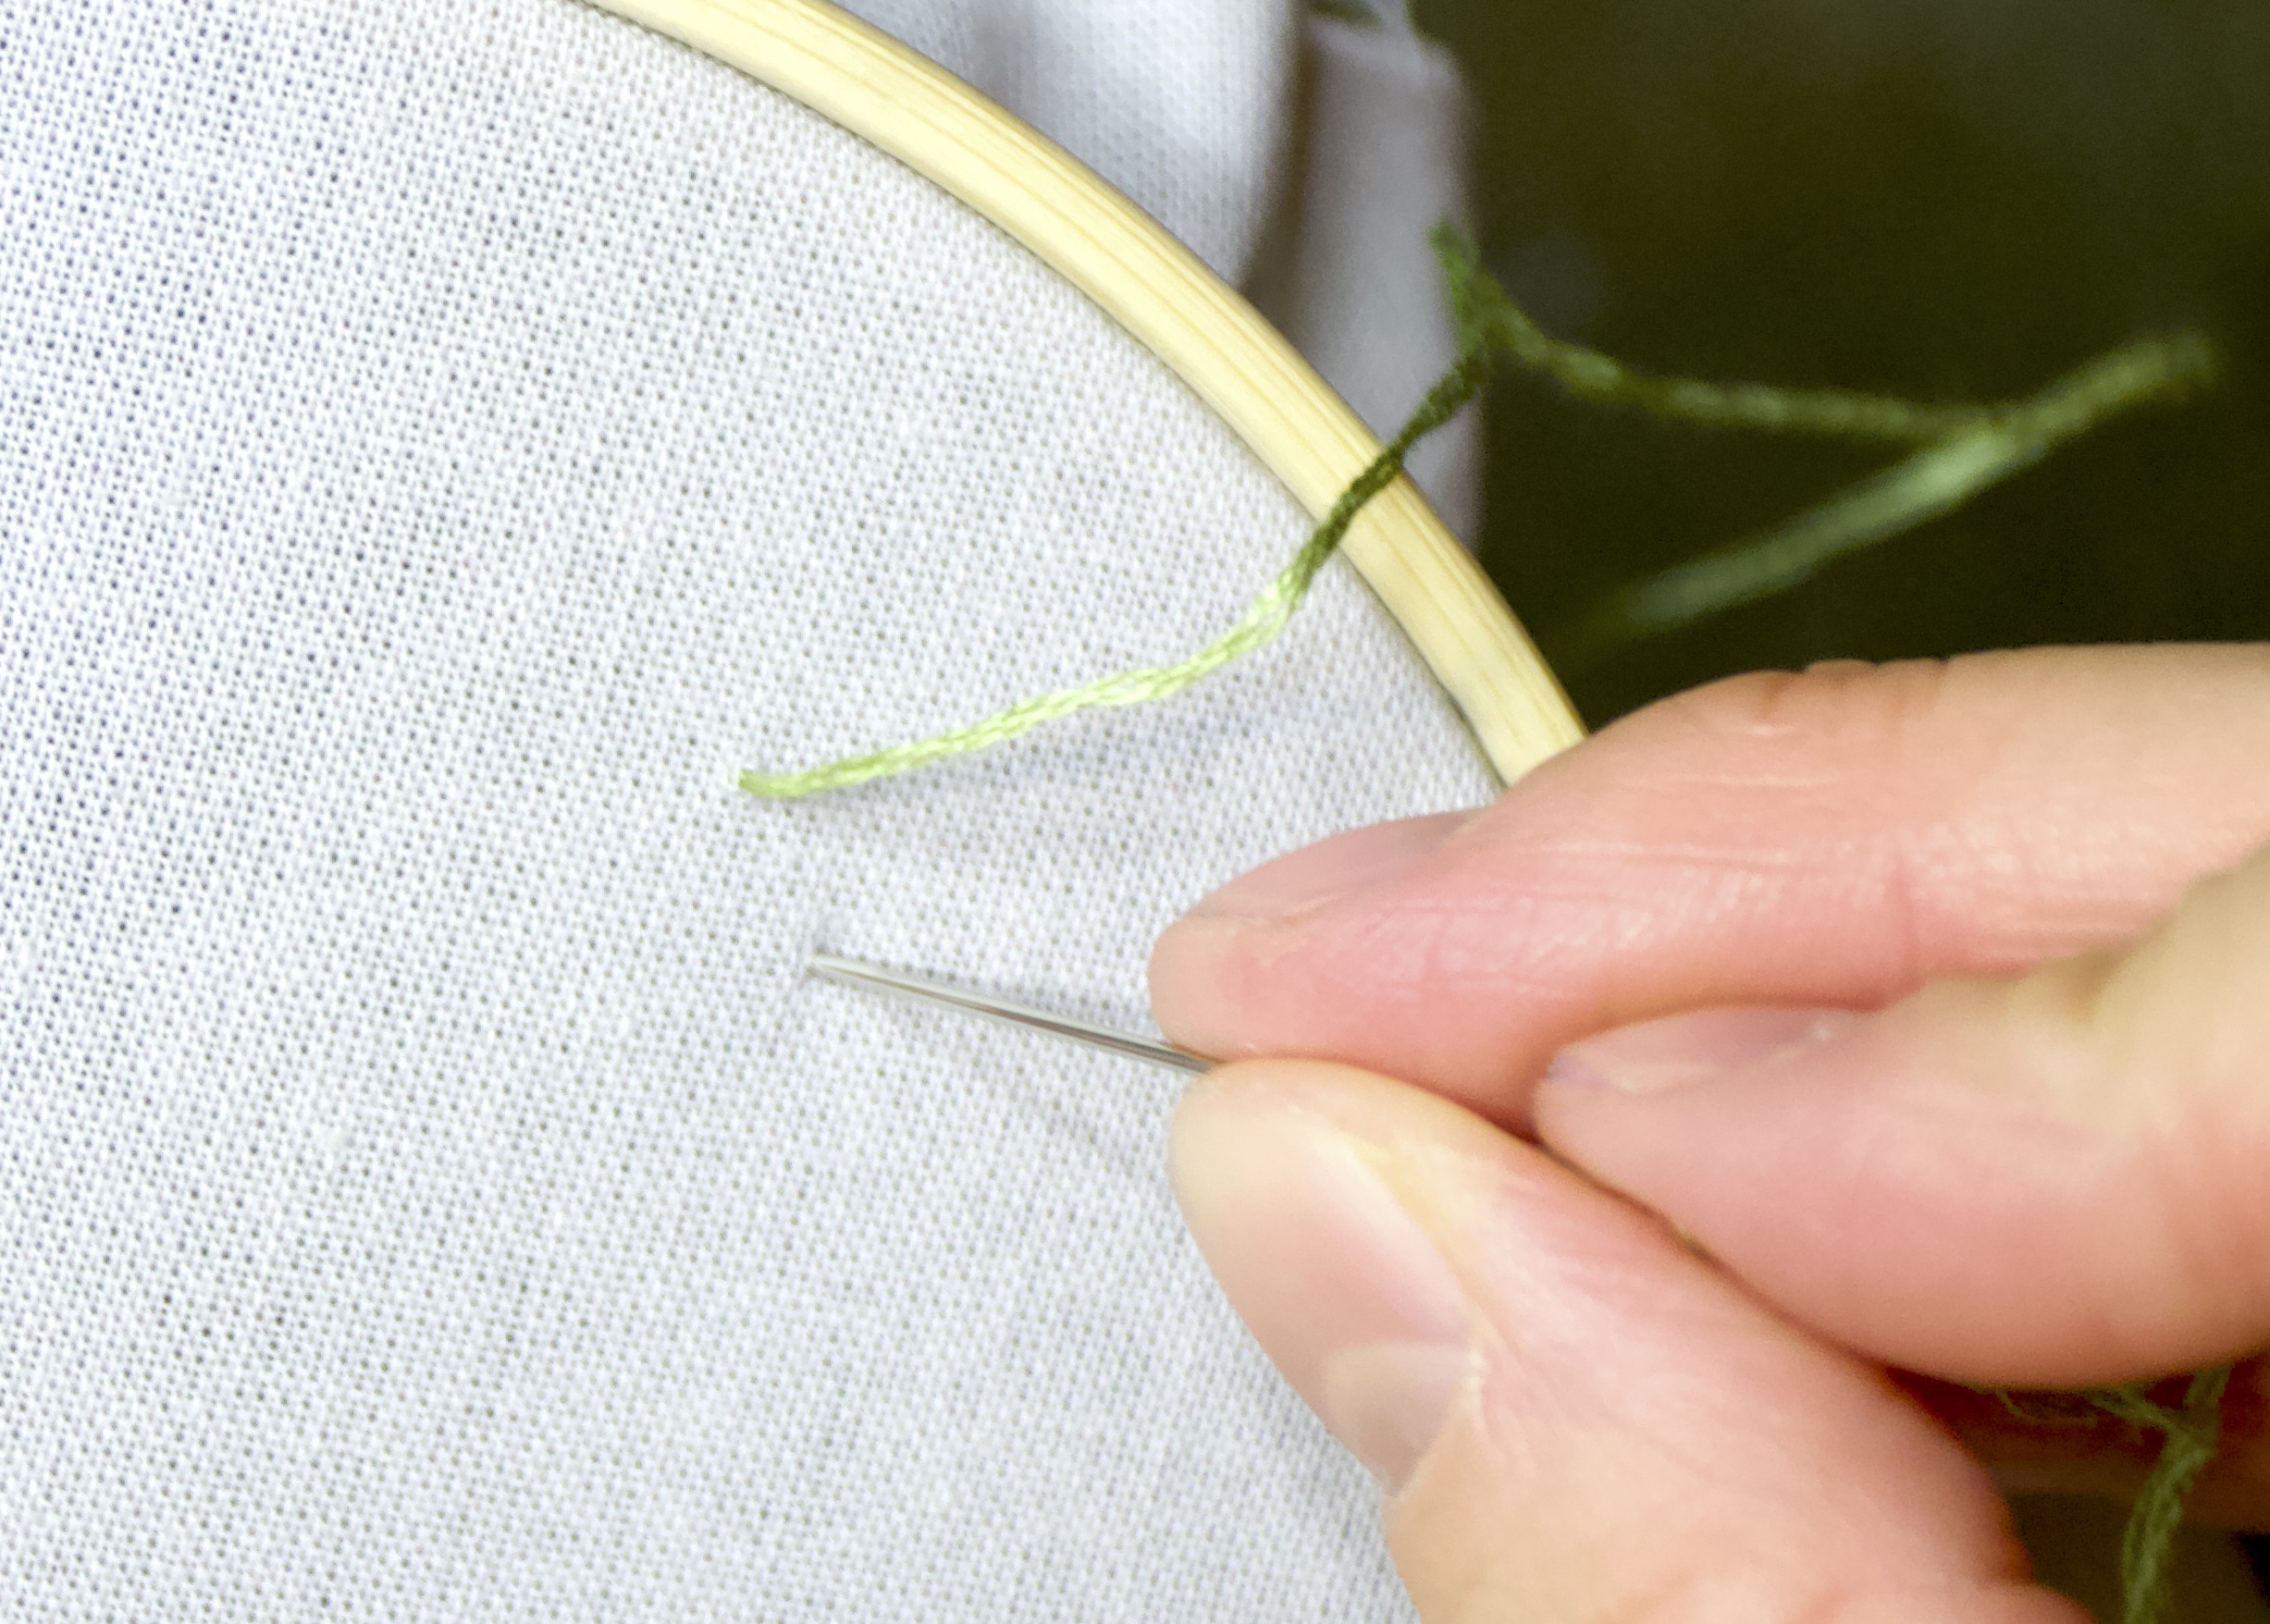
Take your threaded needle and push it through the fabric at a point along your pattern outline. Pull the needle and thread all the way through, so that the knot sits on the backside of the hoop.
Stitching Tip: Use your thumb and middle finger to hold the thread in place at the eye of the needle. This can help prevent the thread from slipping out and having to constantly re-thread your needle. - Take your needle and push down through to the backside of the hoop, approximately ¼” from where you first entered. Flip your hoop over and pull the needle all the way through to the outside. The thread should sit flush on the front of your hoop.
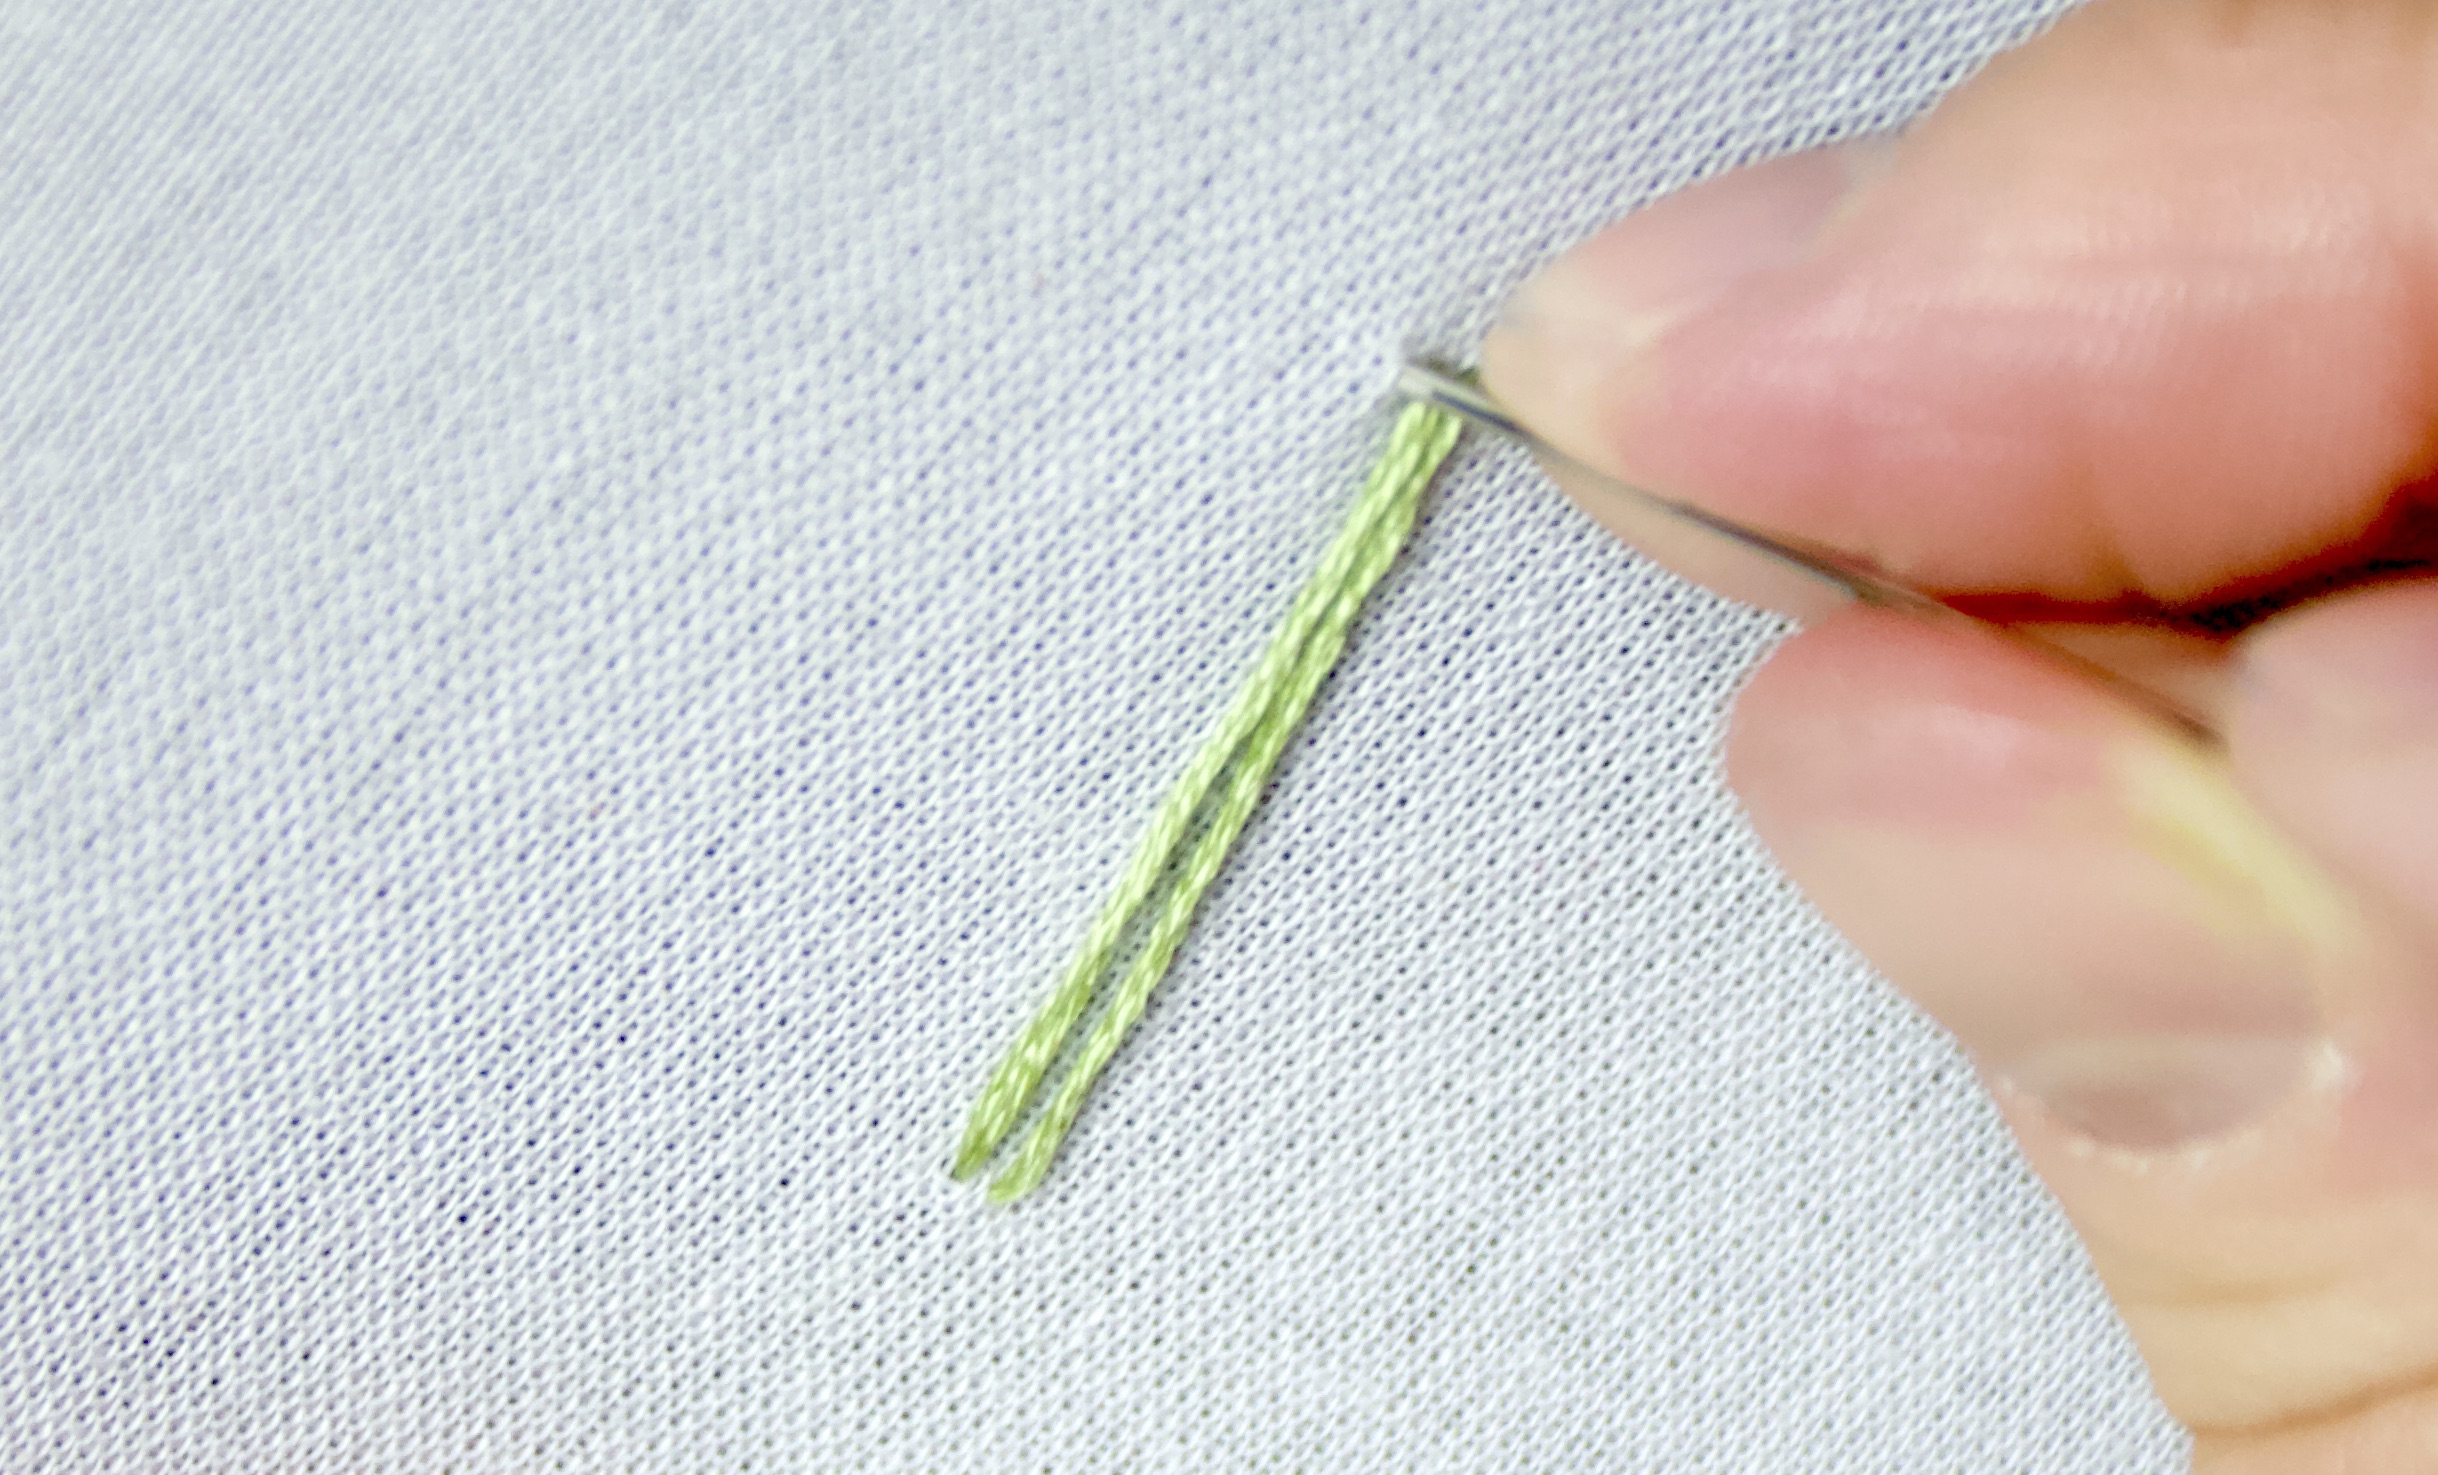
- Push your needle up through the fabric at a point along the outline, approximately ¼” away from where you last entered the fabric. Pull your needle and thread all the way through so there is no excess thread on the other side.
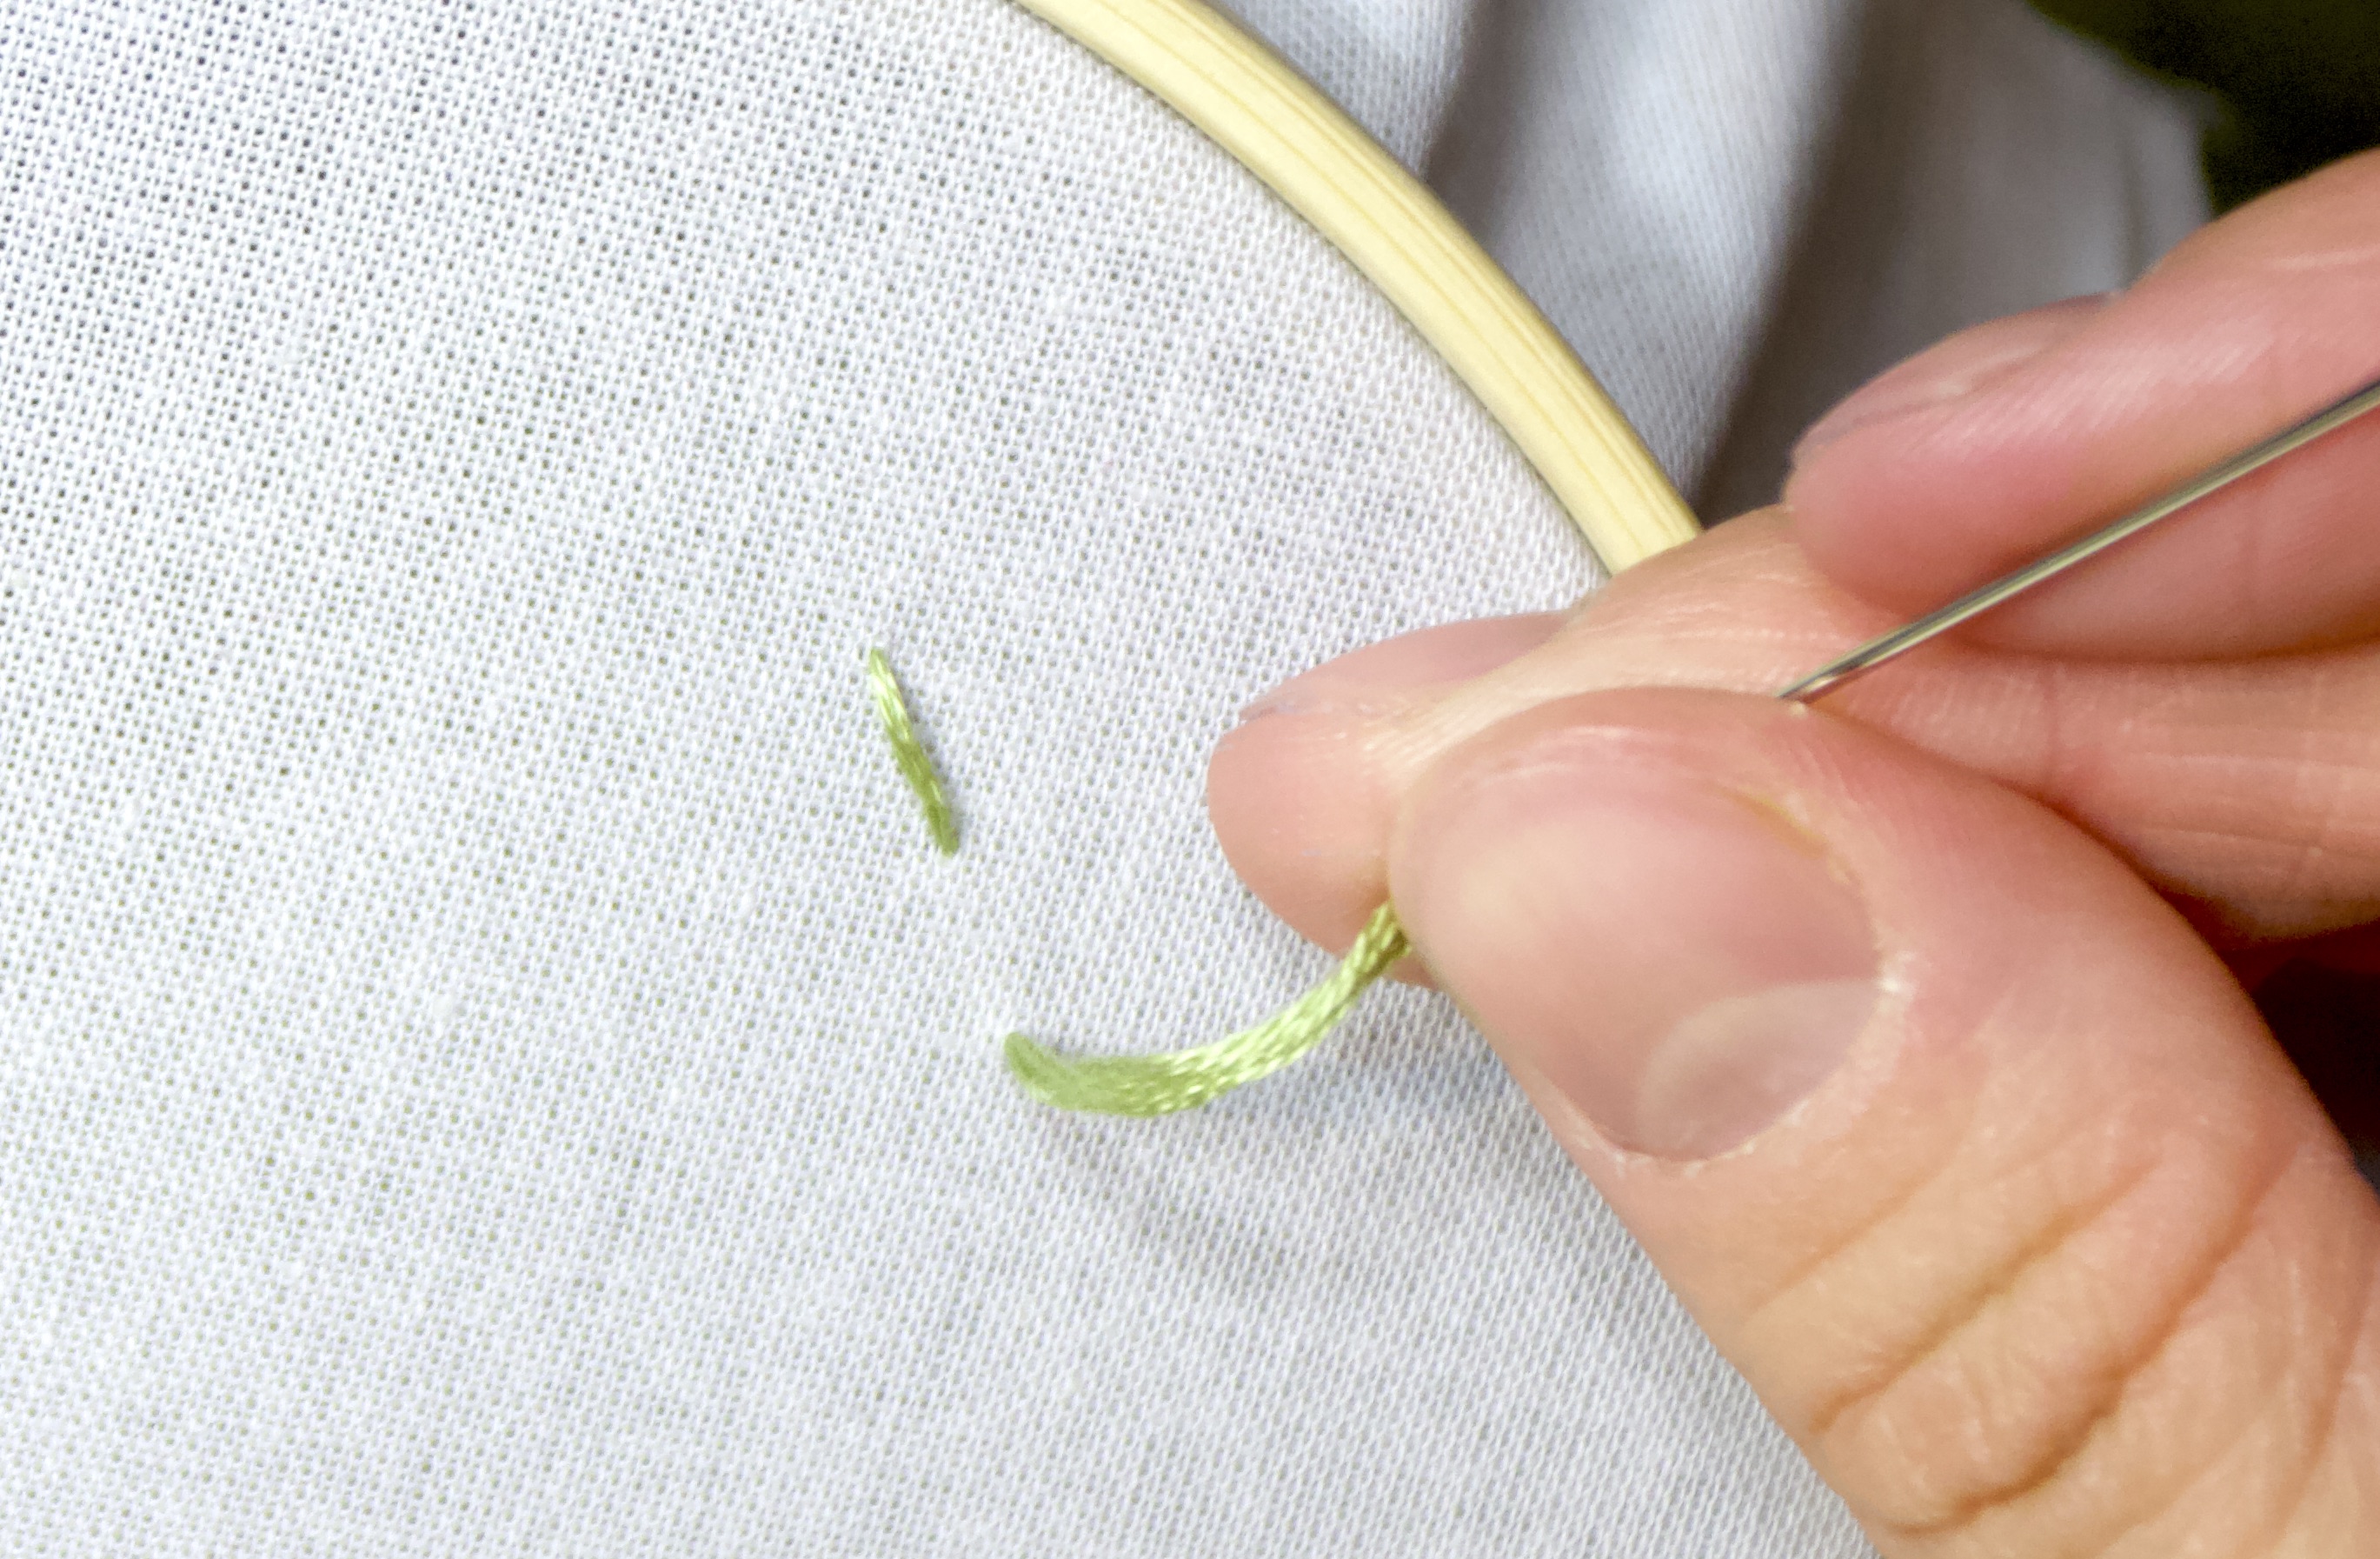
- Take your needle and re-enter the last stitch point. Pull the needle and thread all the way through.
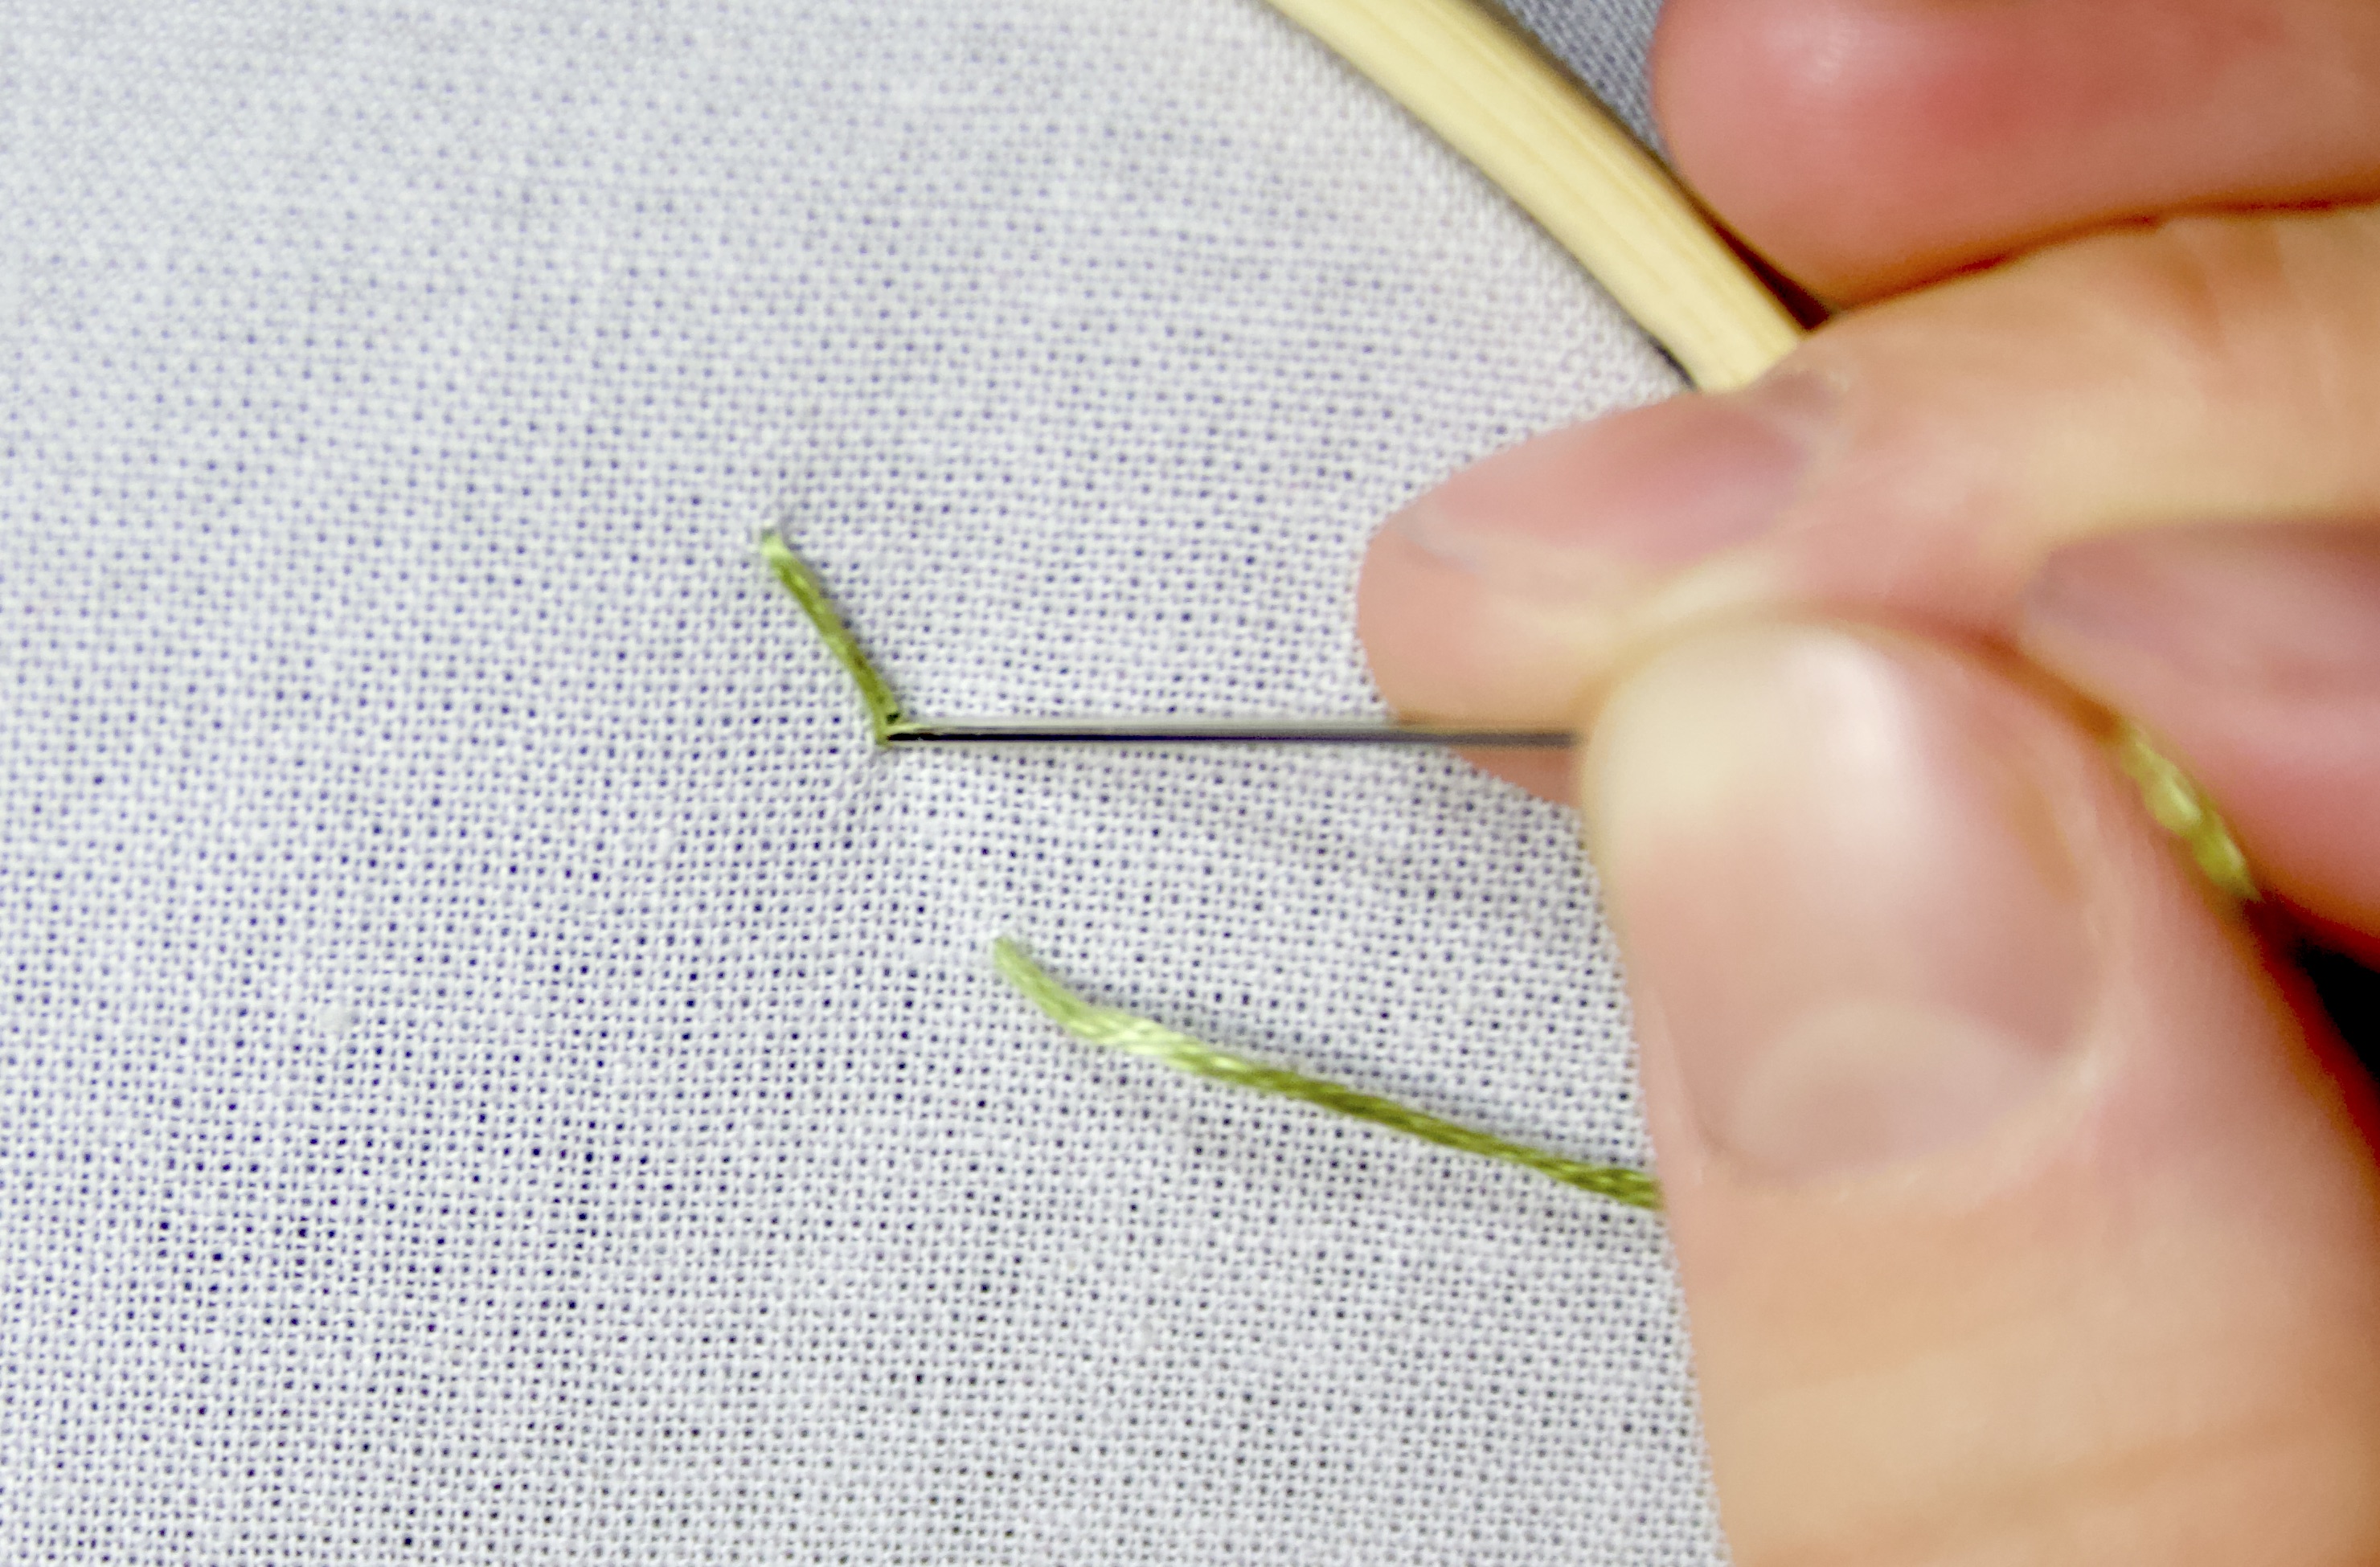
- Take your needle and identify a point ¼” away from the last stitch on the front of your hoop. Pull the needle and thread all the way through the fabric.
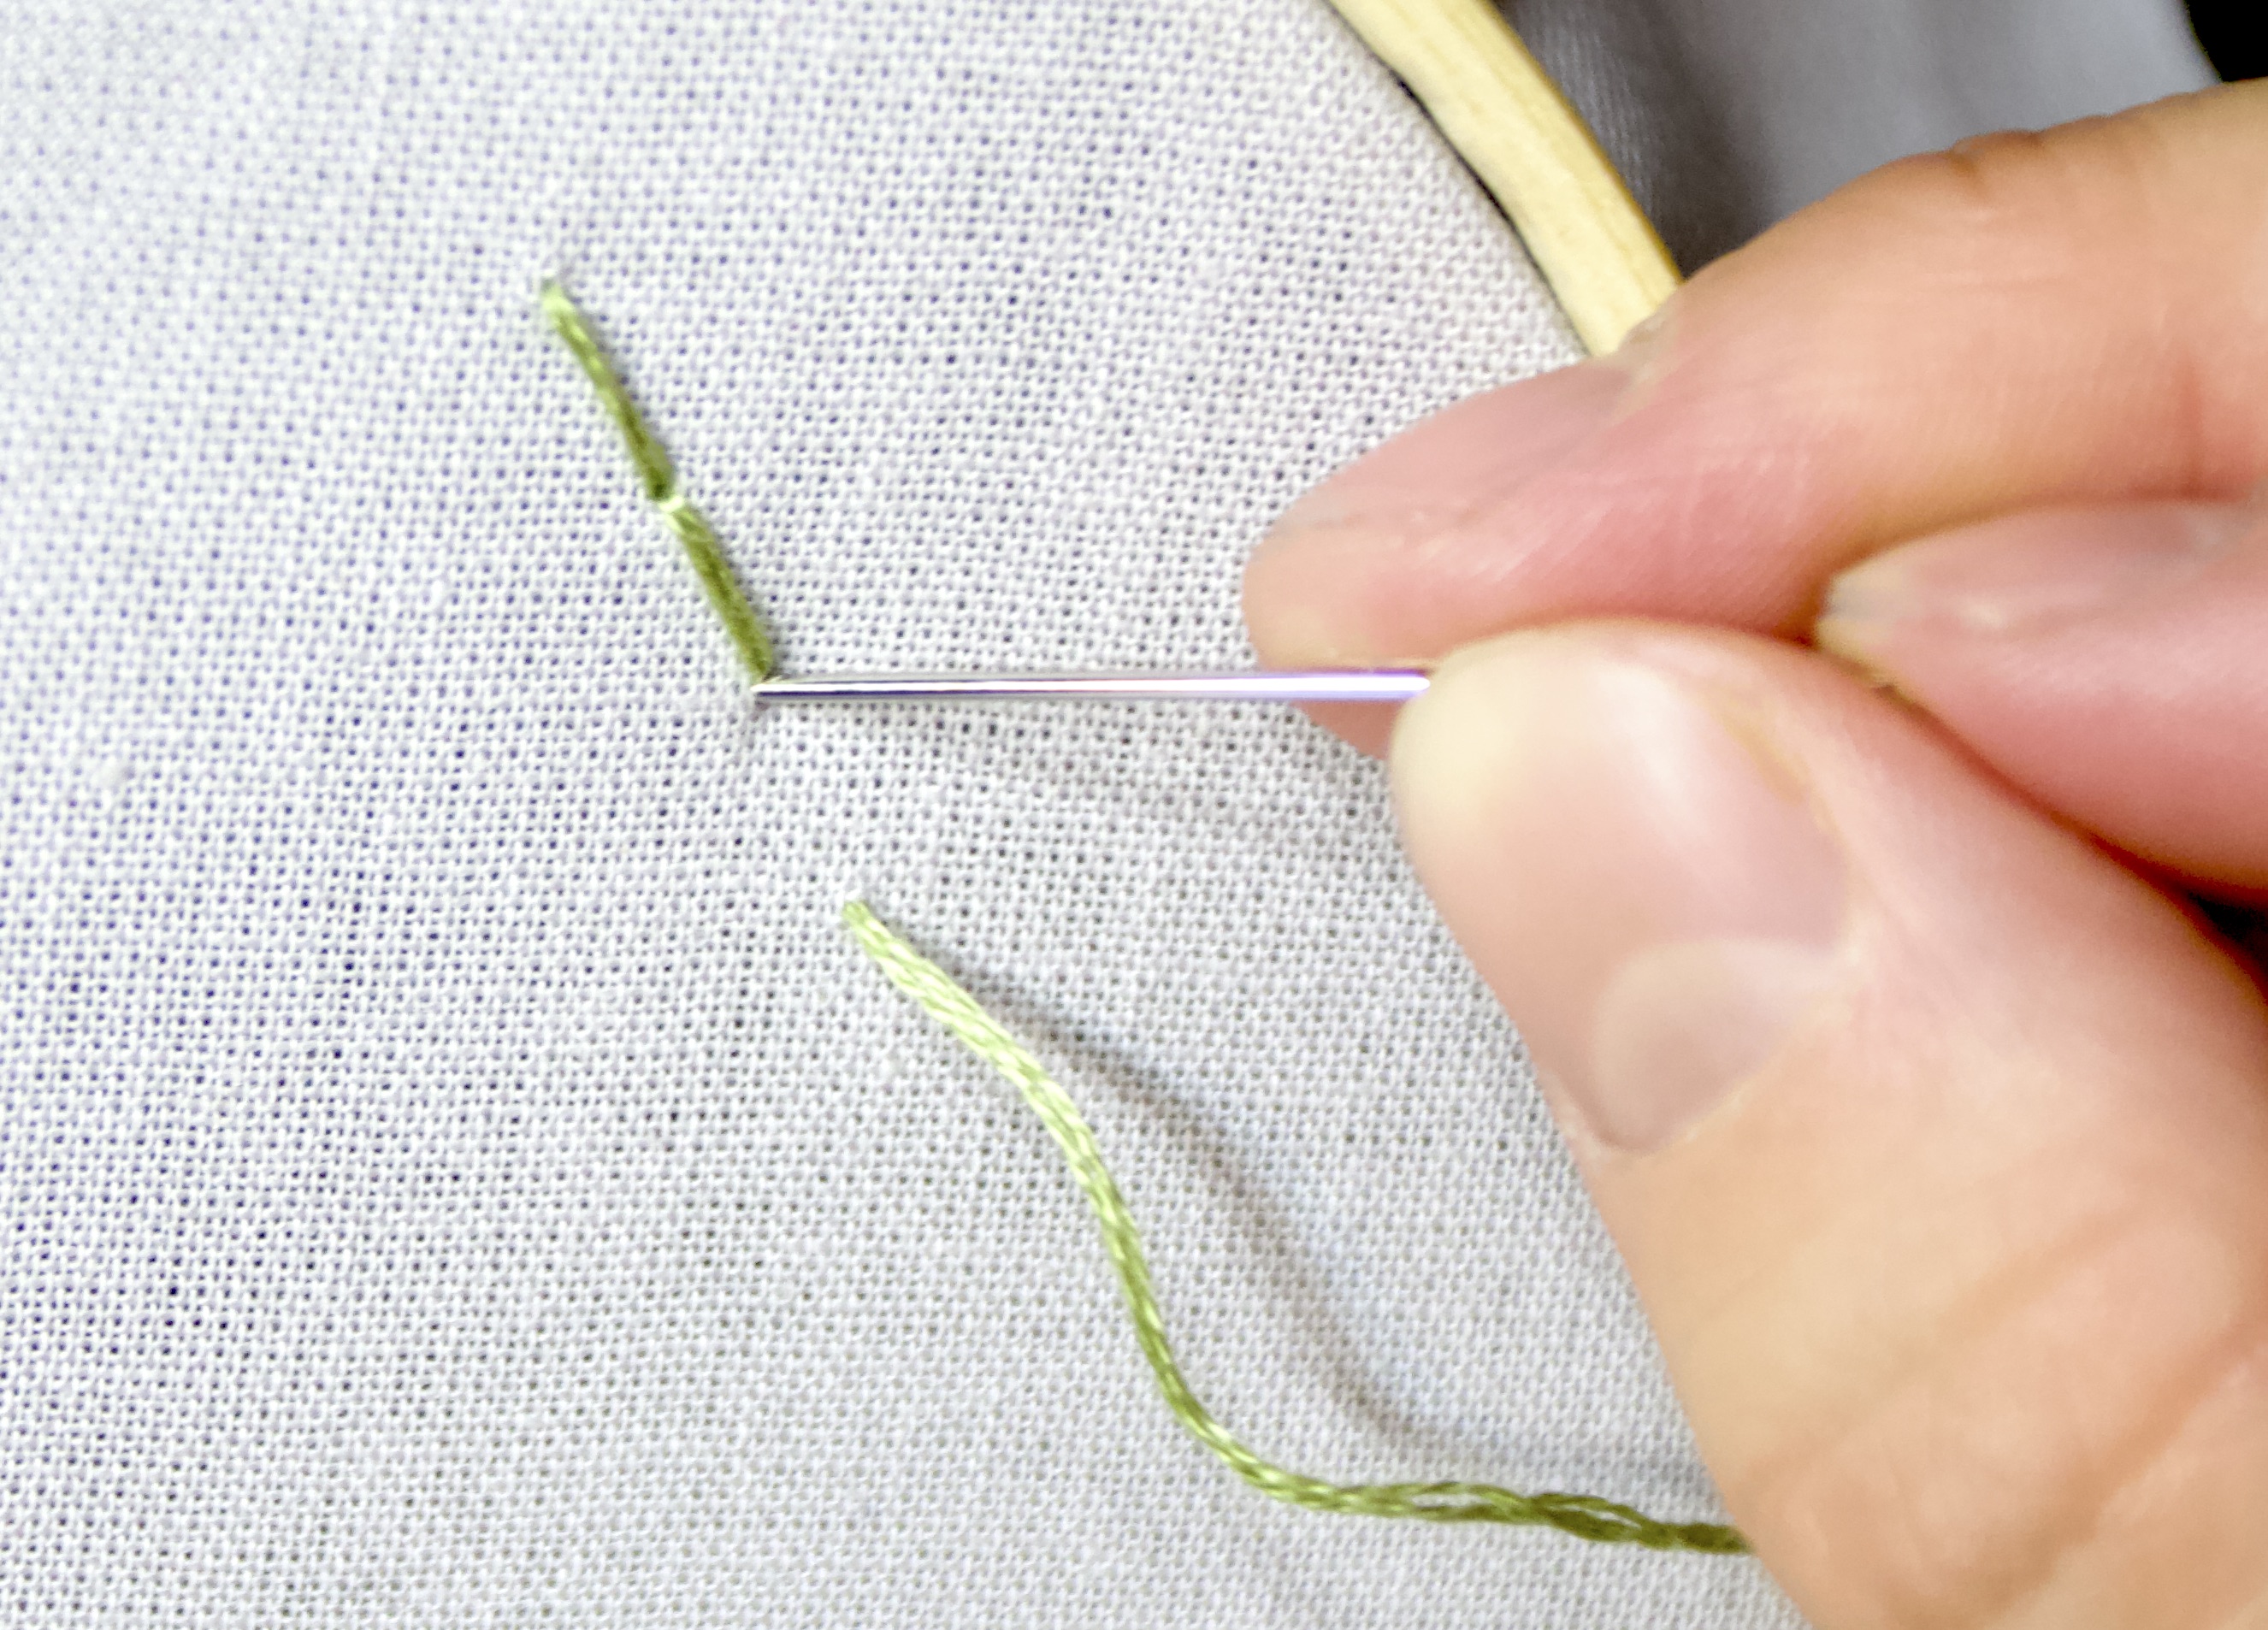
- Repeat these steps as you outline around the pattern. The backstitch always works “backwards” to close up any gaps between stitches.

- When your thread becomes too short, tie it off at the back of the hoop. This will secure the thread so your stitches do not become loose. Separate the three strands and hold two in one hand and one in the other. Tie them together in a loop, as you would a knot.
Tip: You can tie off your thread in a number of different ways. You can also loop your thread into a knot on itself, similar to how you tied the first knot before beginning to stitch or you can tie your thread to another stitch. Use the method that works best for you. - When outlining areas with small curves, such as the interior of our lotus flower pattern, use extra small stitch lengths for your backstitch. This helps capture the detail of the curve. Stitches that are too long can create a rectangular effect.
Optional: Once you’re finished outlining, you can finish your craft at this point. Outlining can be quicker than filling in a pattern with full colour. Make your piece your own!
- We will use a satin stitch to fill in our lotus flower with colour. (Here’s a great video to help)
Thread your needle with your colour of choice. Close to the outline, take your needle and push up through your fabric from the backside of the hoop. Pull all the way through. Identify a point on your outline that is opposite from where you came through the fabric. Push your needle through that point and pull all the way through.
Floss Tip: Using more strands of embroidery floss helps fill out an area with colour faster. Try using 5-6 strands of your embroidery floss for satin stitching to help fill more area in less time.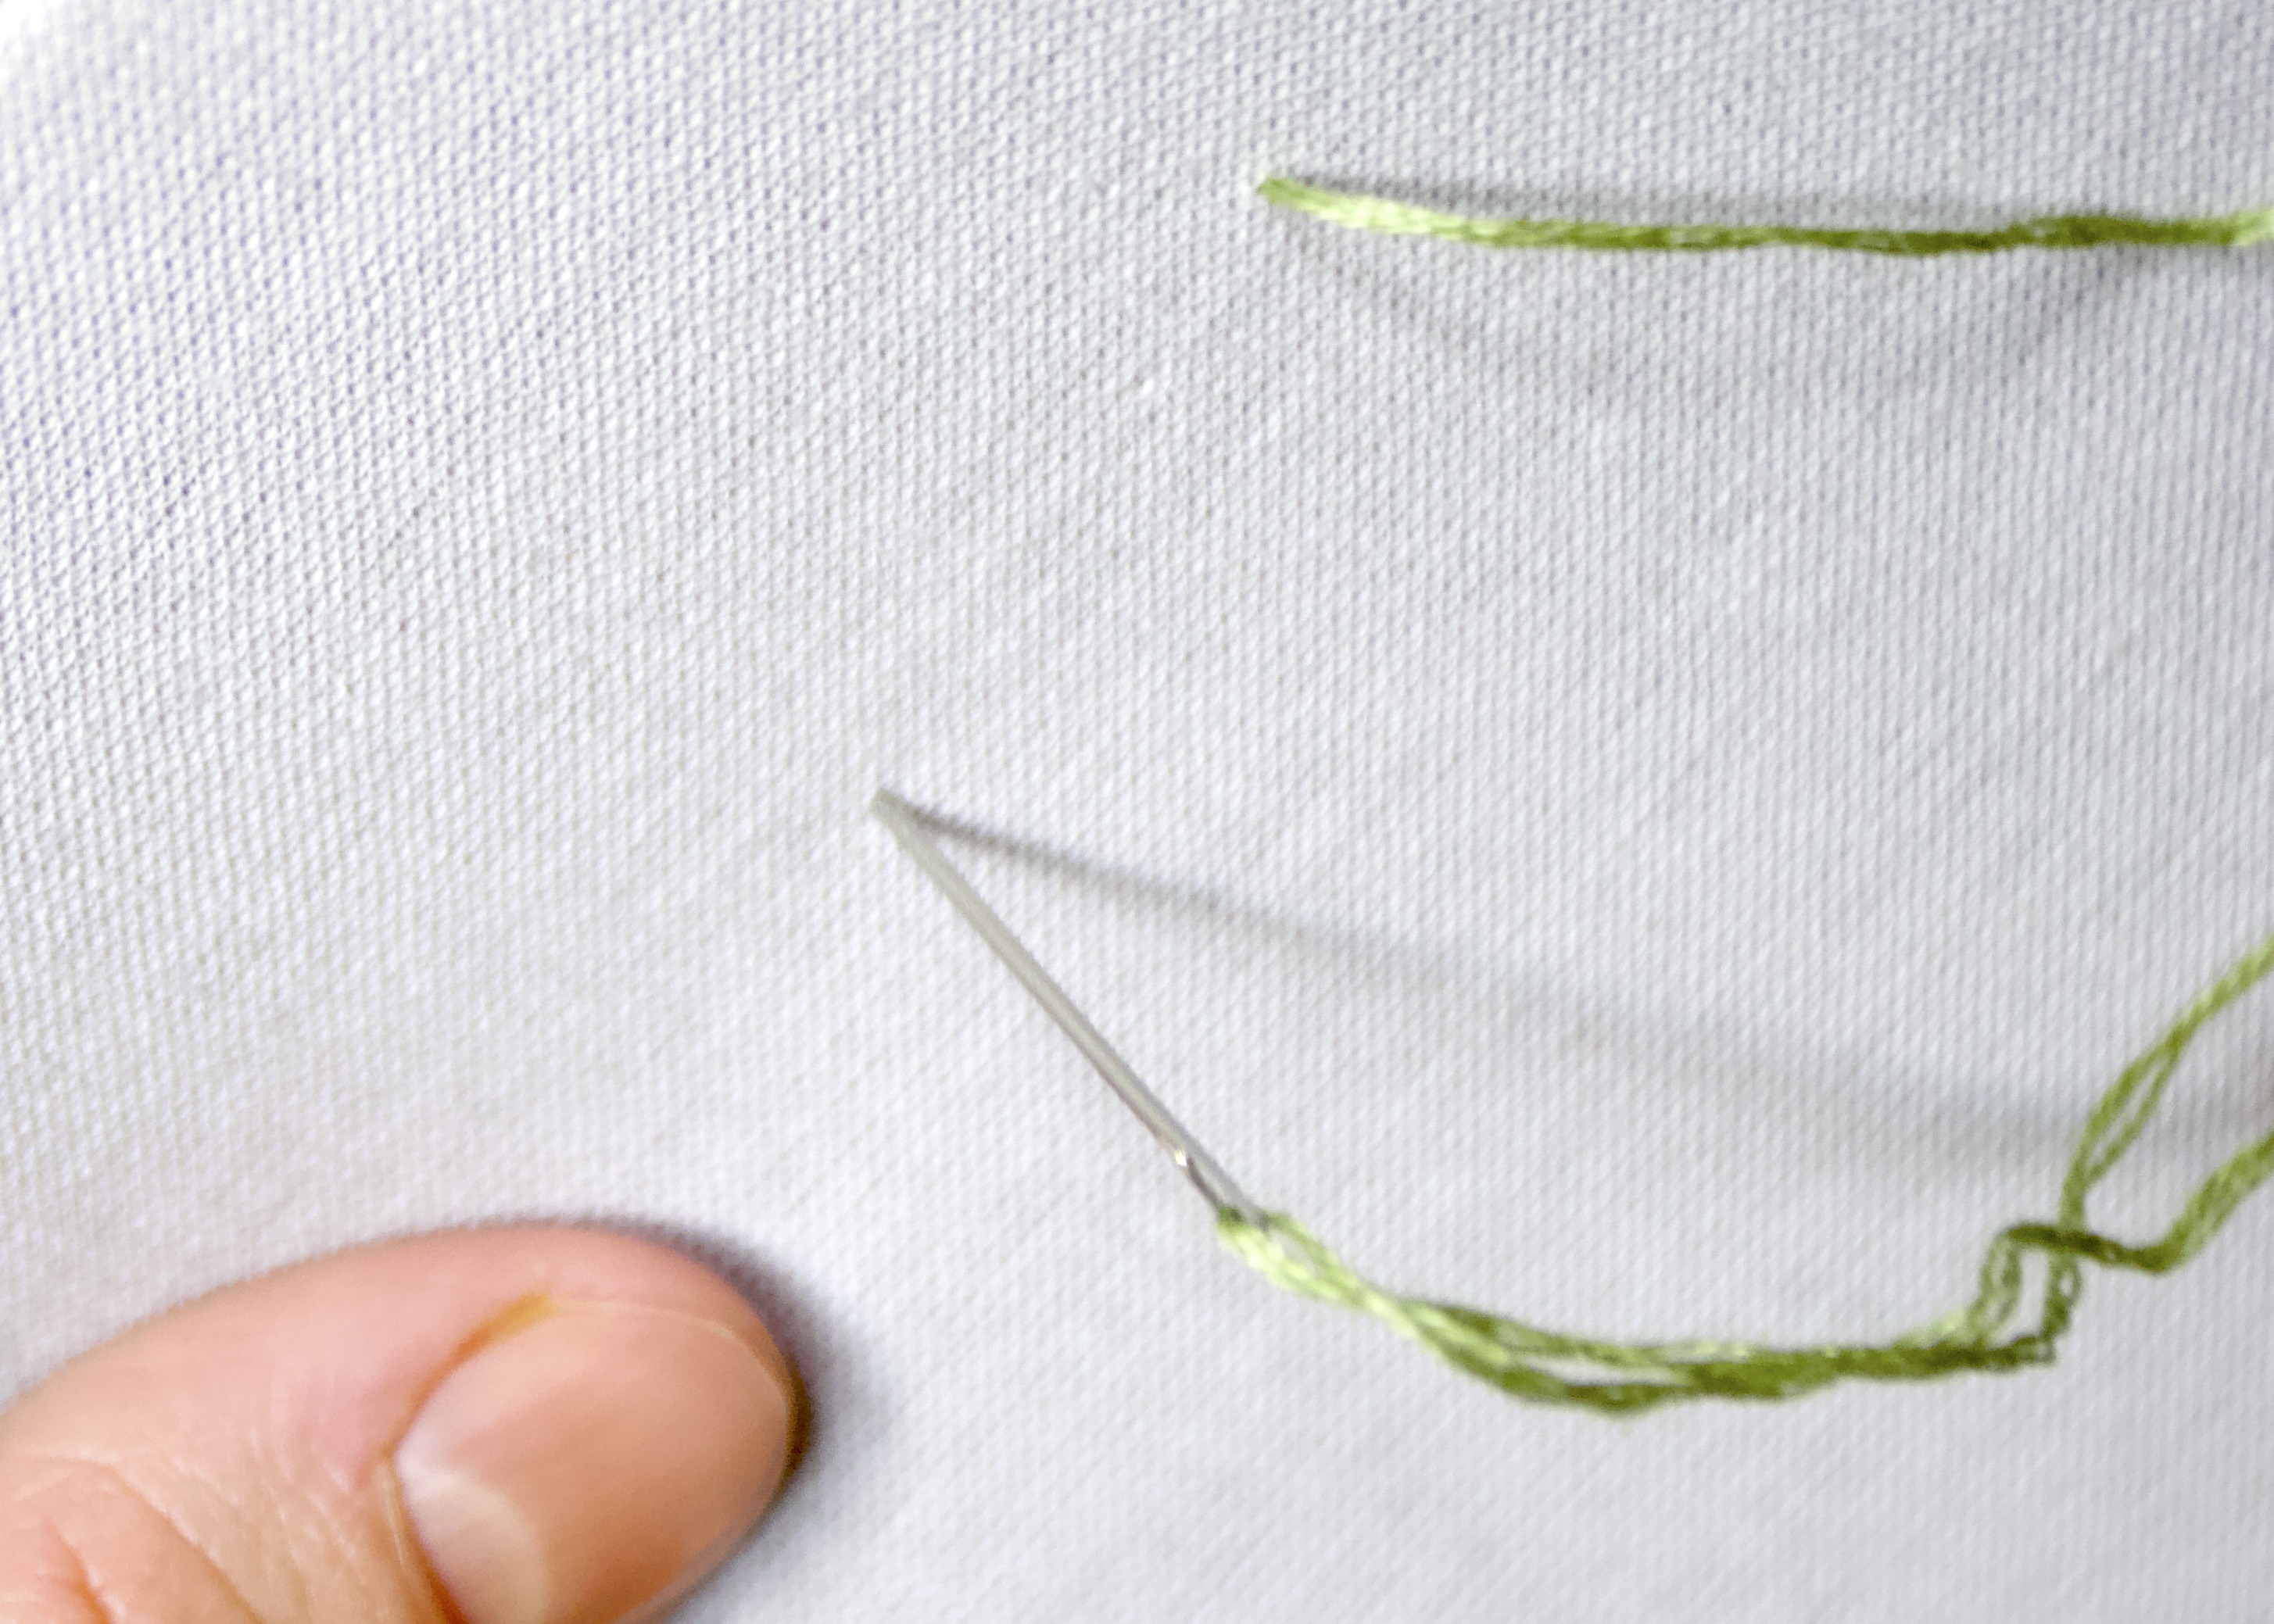
- Position your needle to come back up through the fabric at a point right next to the point you just came through. Pull all the way through. Re-enter your fabric to the backside at a point that is right next to the original opposite point where you started. Pull all the way through.
Continue moving back and forth in this motion until the entire area within the outline is covered.
Stitching Tip: It can be helpful to think of the satin stitch in a similar motion to colouring. We want to move back and forth to cover the empty area with the colour of our thread.

- To achieve greater depth, you can add satin stitching in a lighter shade to the interior petal areas. We chose a lighter pink to add depth to the dark.
This technique also uses a satin stitch, with at least half of the threads you used for the satin stitch (e.g. for 6 threads of dark pink satin stitch, use 3 threads of the lighter pink). This will help blend the two colours together more seamlessly. - Use a satin stitch to go back and forth in longer thread lengths in the petal areas closest to the base of another petal.
- Continue using the satin stitch within the centre of the lotus, stopping at the outline of the interior circles.
- We will use a French knot stitch to fill in the small circles within the centre of the lotus. (Here’s a video to help)
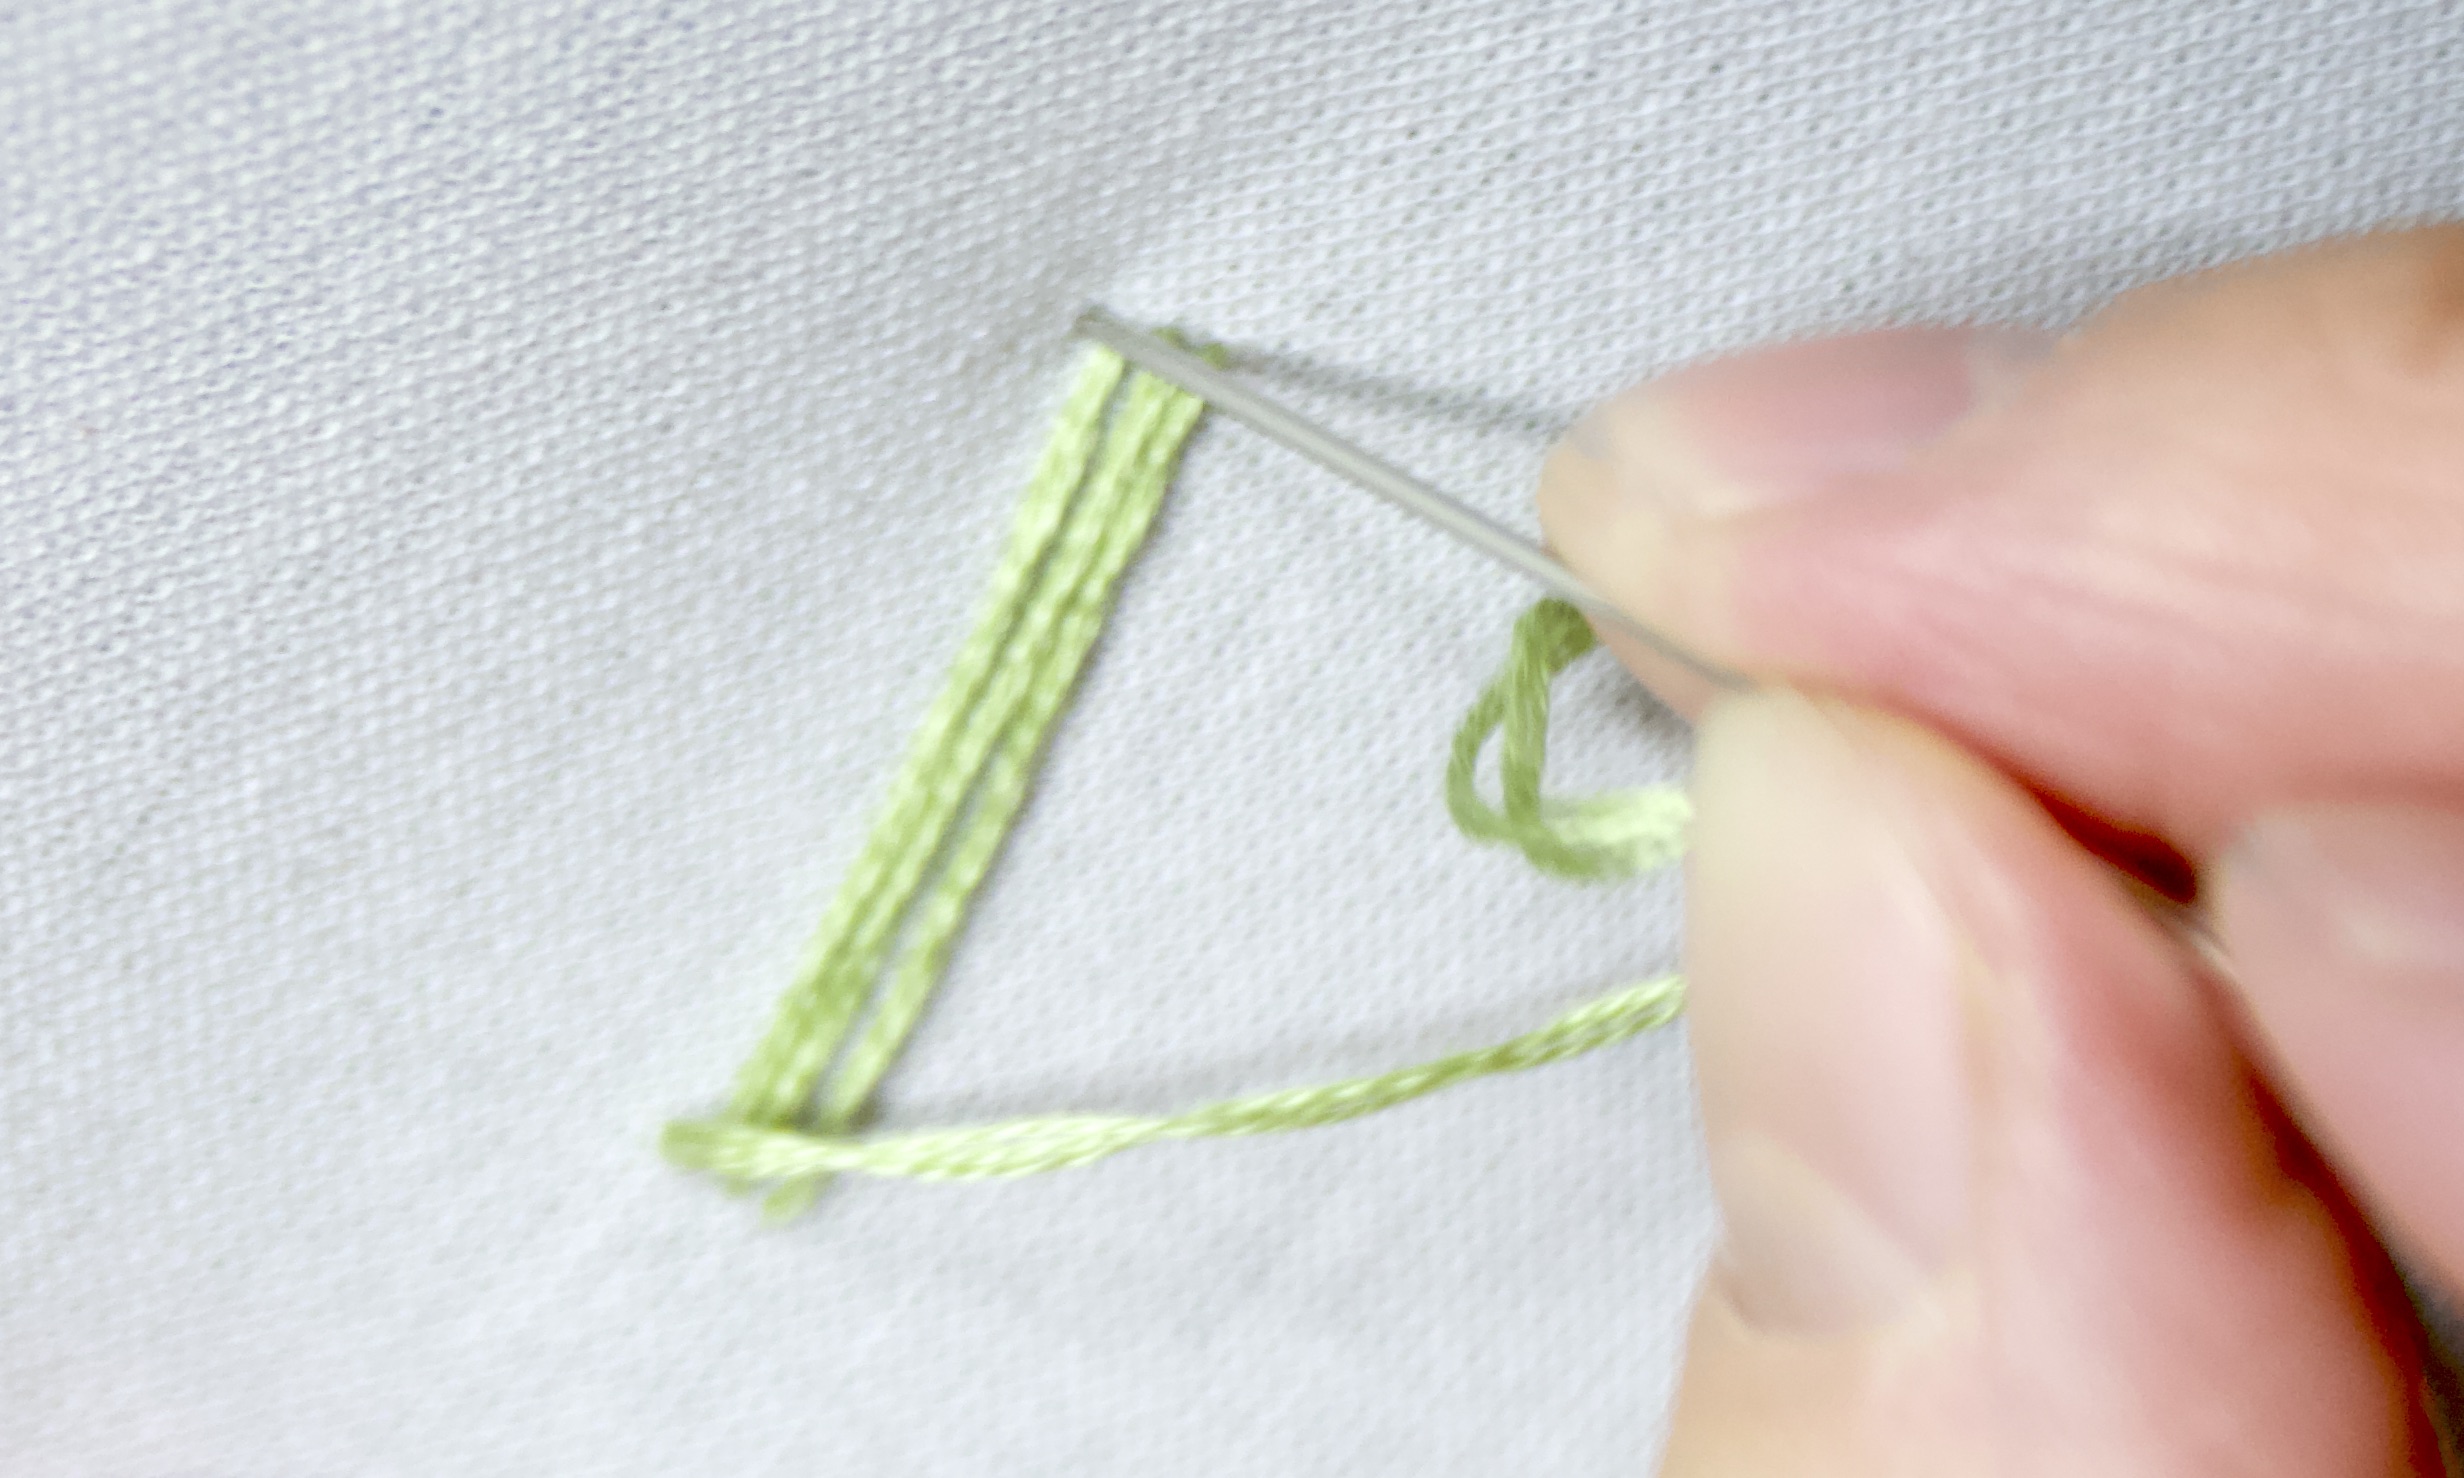
Thread your needle with a light contrasting thread. From the backside of the hoop, push your needle through to the front within one empty circle. From the front, pull the needle and the thread all the way through. - In your non-dominant hand, hold the excess thread on the surface of your hoop in tension. This may require wrapping the thread around your finger several times.
Tightly wrap the thread around your needle three times. Keep these wraps on the body of the needle.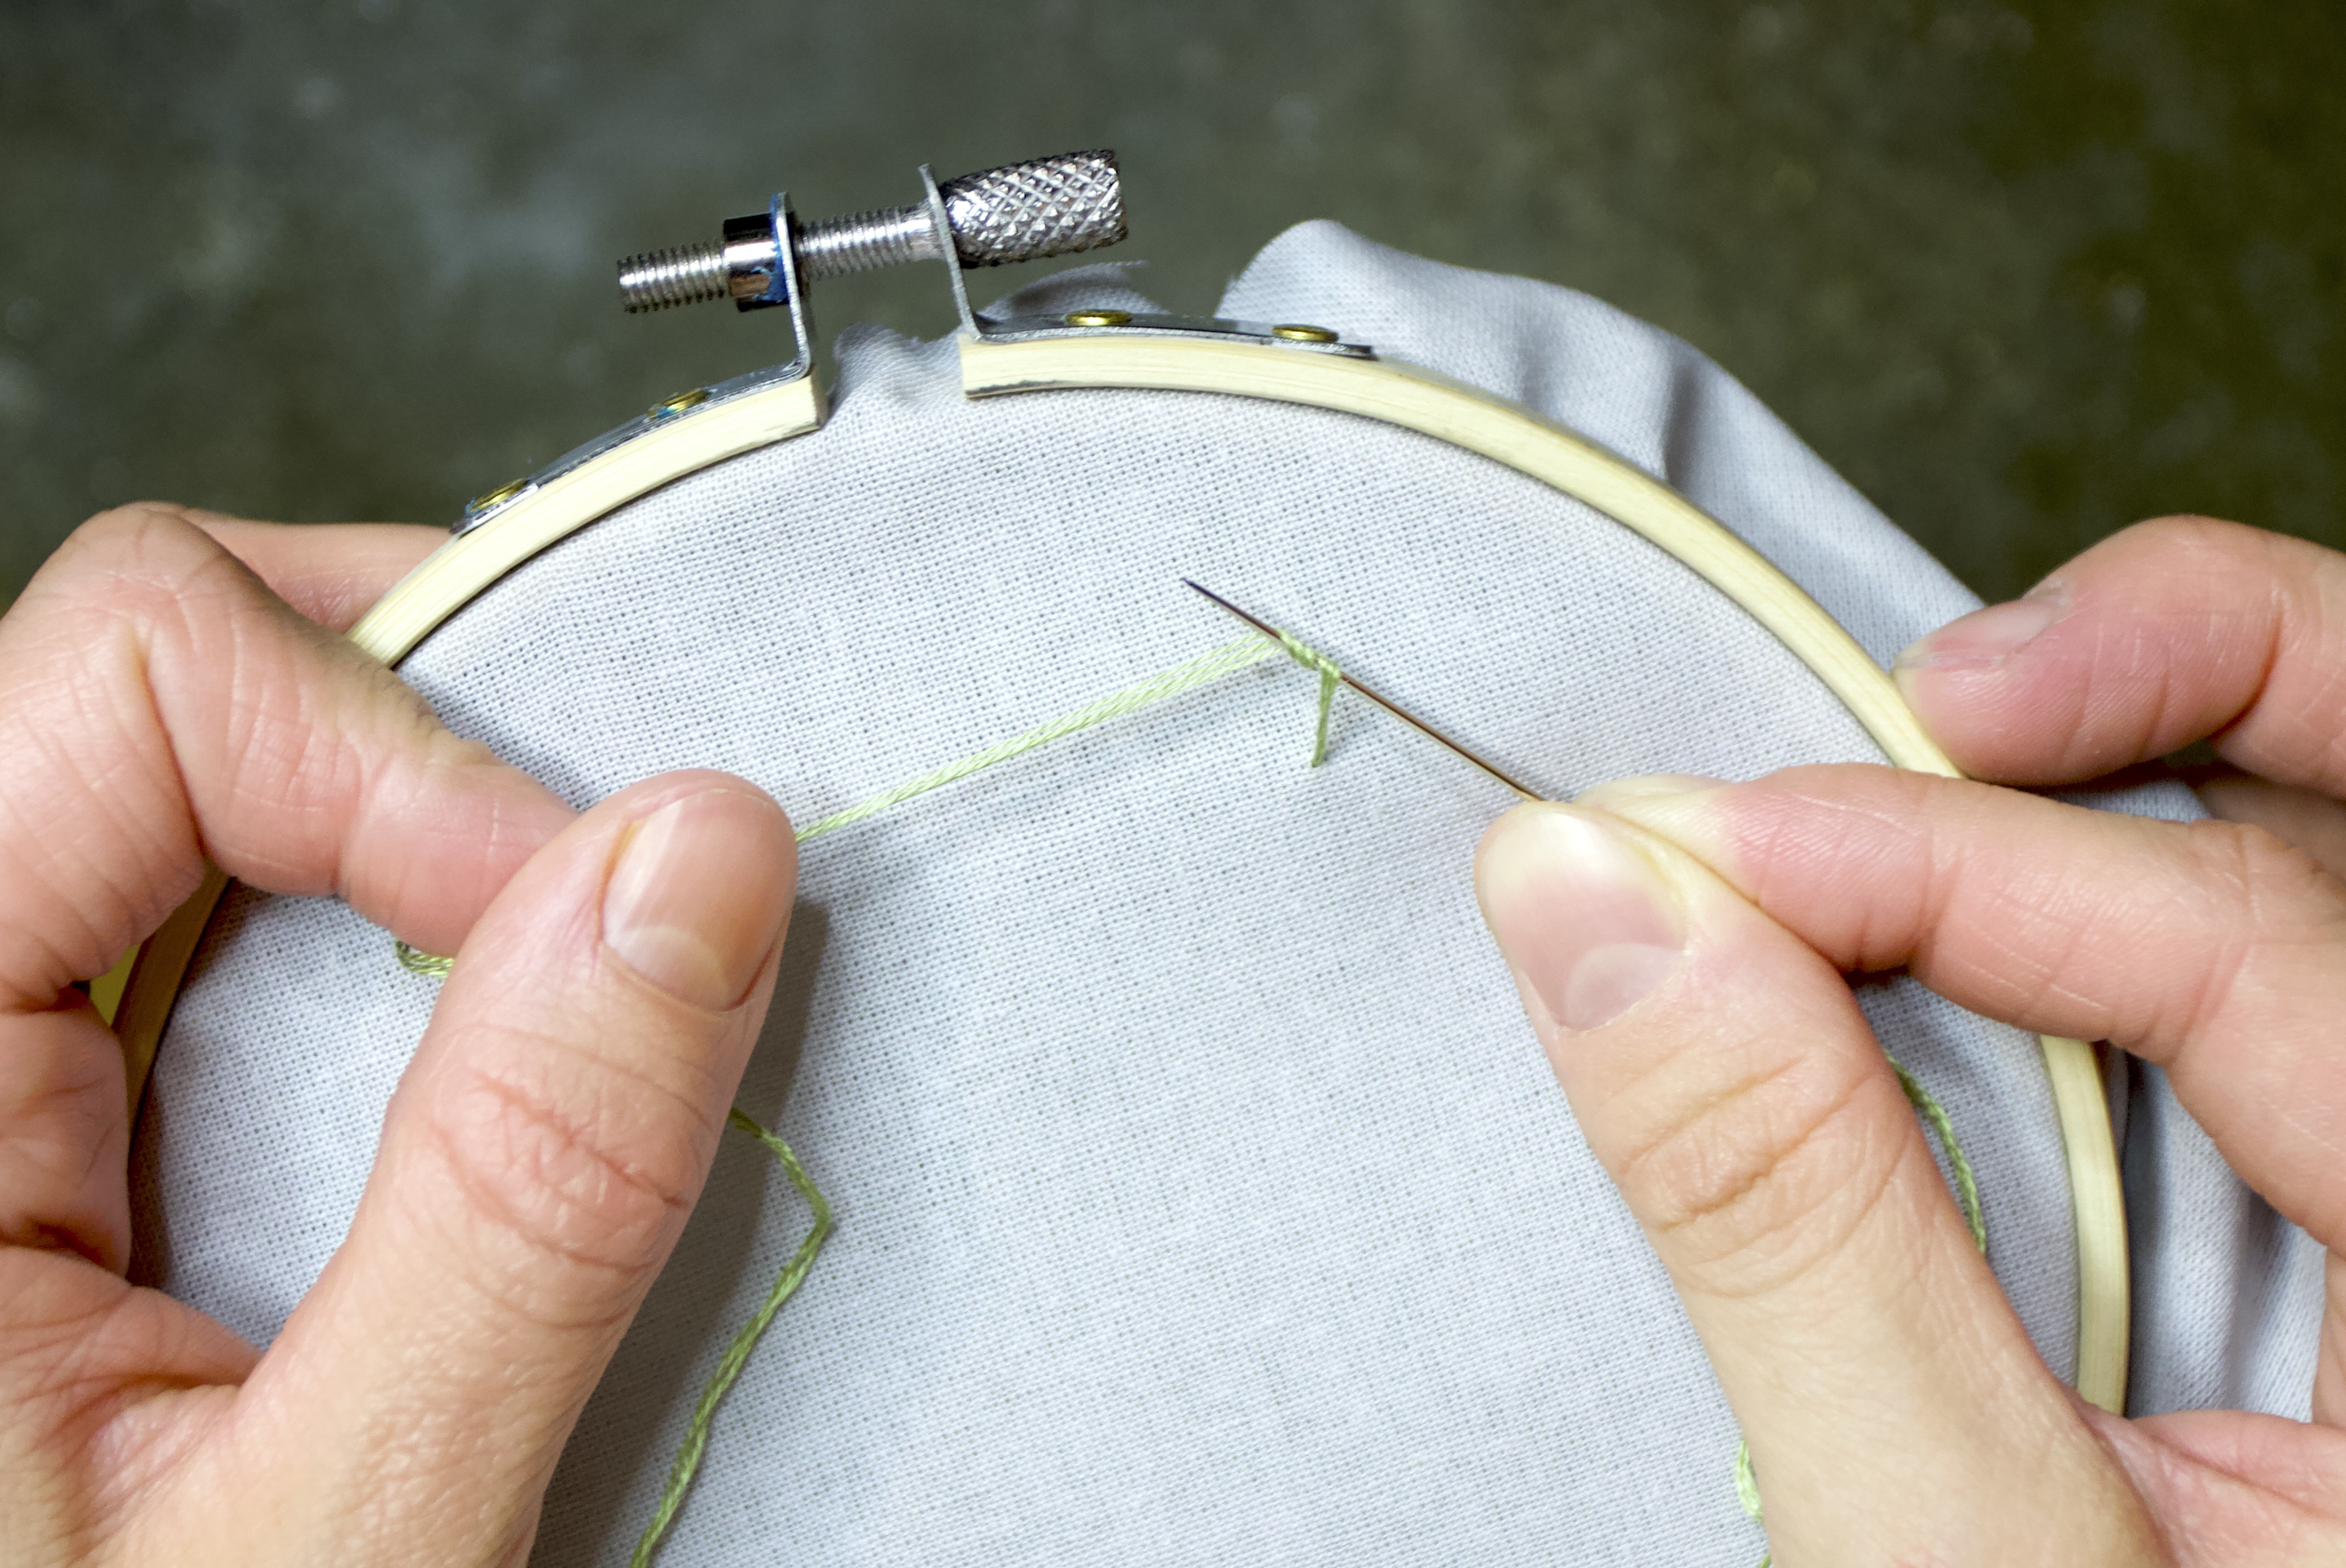
- Continuing to hold tension, push the needle through a point very close to where you came up through the fabric. Pull the needle and the thread all the way through.
The thread should result in a knot on the surface.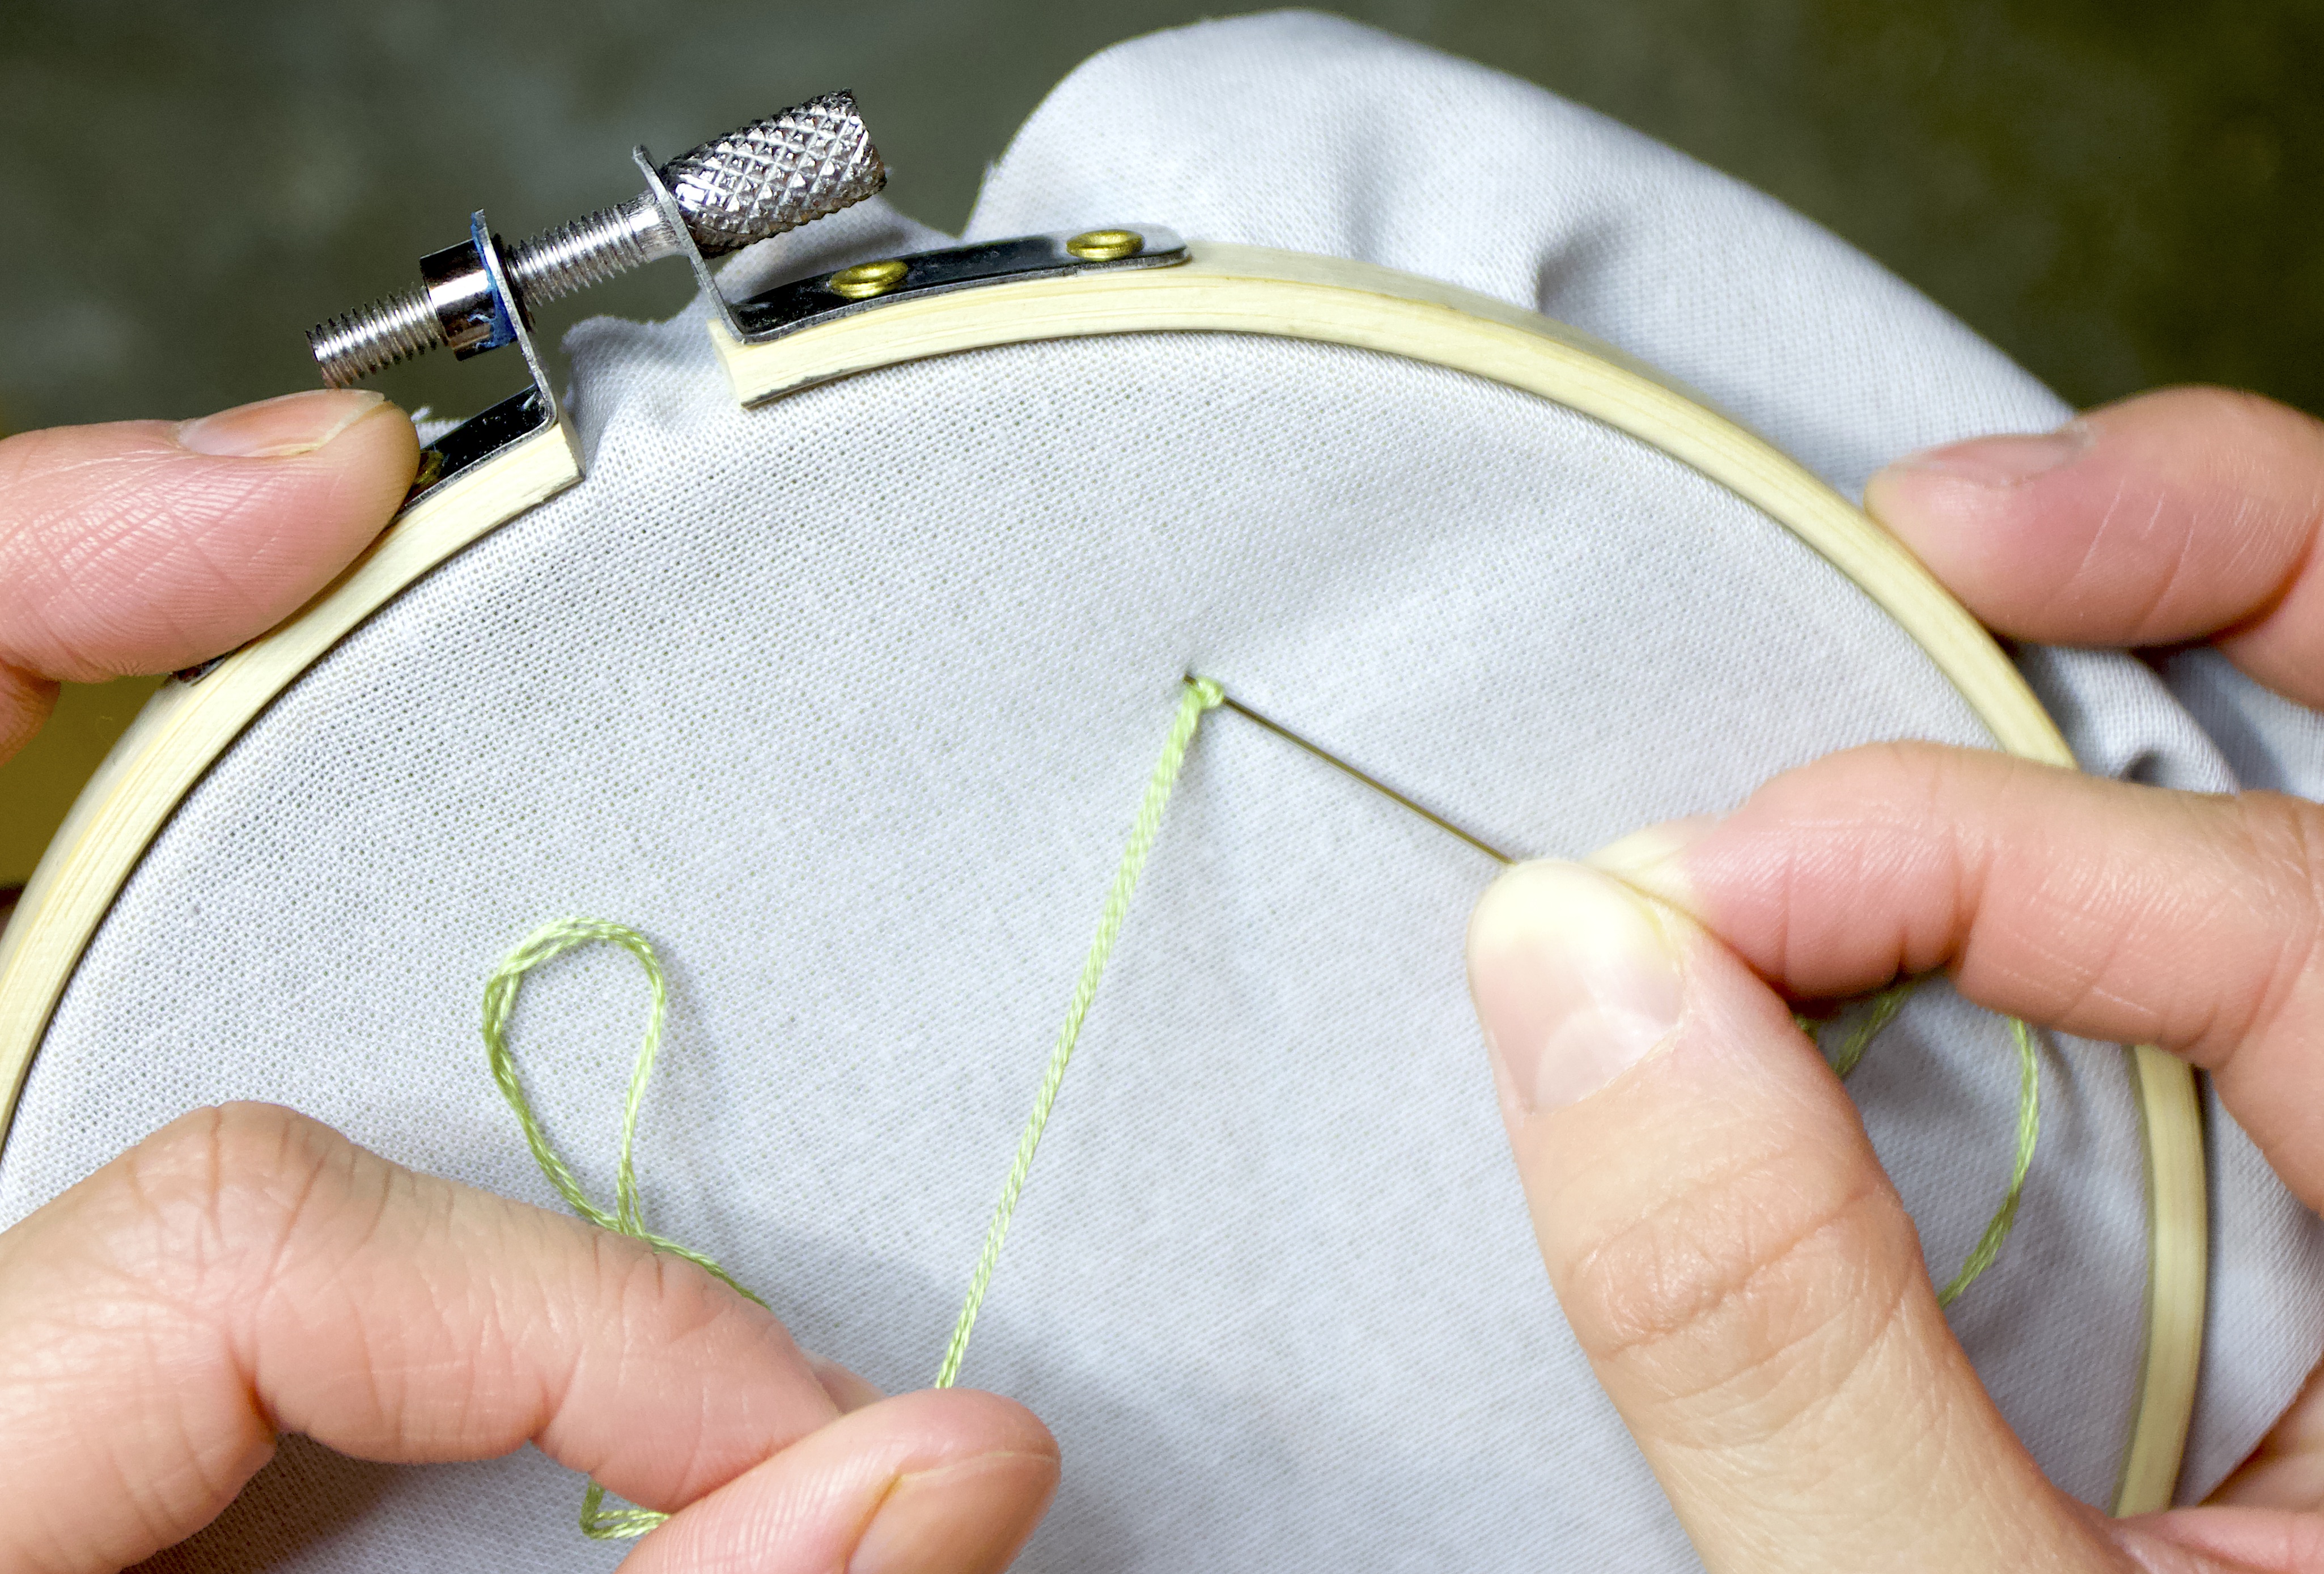


- Repeat this process several times to fill each small circle of space.
- Ensure all of your threads are tied at the back. Trim the excess fabric around the hoop so that it is not showing from the front to finish off. You are complete!
Finishing Tip: There are multiple ways to finish the back of an embroidery hoop. If you plan to leave your fabric inside the hoop and it is secure, you can simply trim the edges so they are no longer visible from the front. For a few different finishing methods, see this video!
The Lotus Flower Pattern

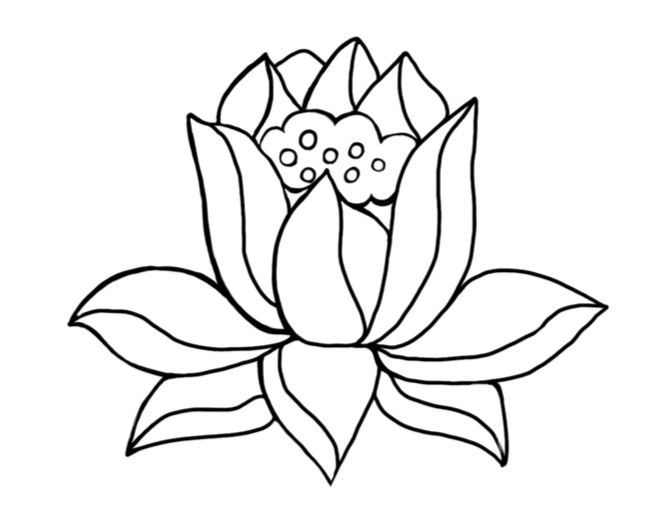
Detail of “Gold Silk Tapestry Weave Tibetan Chuba,” 1573-1700; metal-wrapped thread and silk tapestry weave; University of Alberta Museums; Mactaggart Art Collection; Gift of Sandy and Cécile Mactaggart; 2005.5.253
The lotus flower pattern is based on a less detailed woven lotus flower, found on “Gold Silk Tapestry Weave Tibetan Chuba,” (2005.5.253). The lotus flower is an auspicious symbol that holds meaning in both Tibetan and Chinese culture, representing purity and enlightenment.